 Chilli paneer dry is an Indo chinese dish .Anyone who prefers to eat less spices and masala ,would definitely vote for Indo chinese dish.Paneer chilli dry is a popular veg starter and also ordered as a side dish to have with veg fried rice,hakka noodles etc.It is made with a well balanced combination of fried cottage cheese(paneer) ,capsicum,onion and sauces.Once tried you will be tempted to try this recipe again and again 😉 .
So without too much of blah blah shouldn’t I be directly giving you the recipe 🙂 ?? Yes of course,it doesn’t need much introduction .. it’s all about chilli(spicy) and paneer.So,here comes the recipe.For video recipe click here:https://goo.gl/5qL1r3
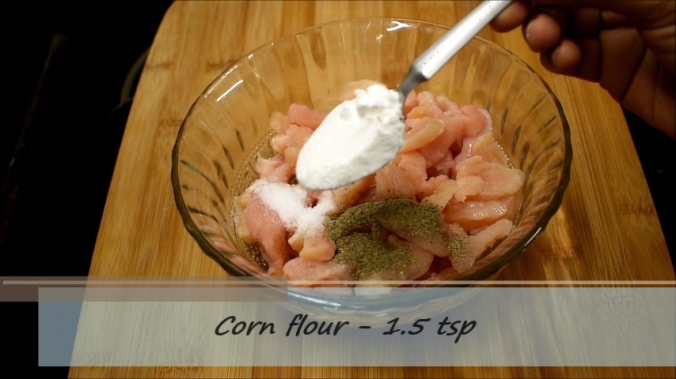
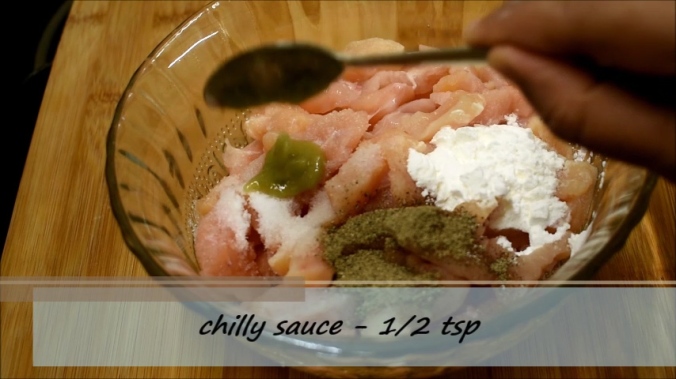
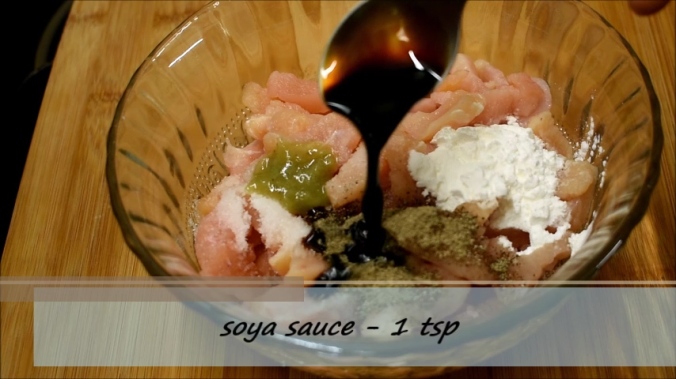
Ingredients required :
Paneer/Cottage cheese - 200 gms
all purpose flour / maida - 1/4th cup
corn flour - 1/4th cup
salt - as per taste
capsicum - 1/2 portion of a medium sized capsicum.
onion - 1
finely chopped garlic - 1 tbsp
finely chopped ginger - 1 tbsp
finely chopped green chilli - 1 tsp
soya sauce - 1.5 tbsp
vinegar - 1 tbsp
chilli sauce - 2 tbsp
tomato sauce(optional) - 1 tbsp
chopped spring onion greens - 2 to 3 tbsp
Oil - for deep frying paneer and for 2 tbsp for shallow frying

Method :
* Mix maida,corn flour and a pinch of salt in a mixing bowl.
* Add water as required and make a thick batter.Do not make the batter watery.
* Now add the paneer cut into an inch long slices or cubes.
* Mix it well and give a nice coating of batter to all the paneer slices.
* Next deep fry the batter coated paneer slices in oil.
* Keep the flame high while deep frying so that paneer doesn't absorb oil.
* once the paneer slices have got a crispy outer layer,remove them from oil and
  transfer them onto a tissue paper.
* Next in the oil deep fry onion slices and capsicum slices for about 1 minute.
  (Please refer the photo below)
* Similarly deep fry chopped capsicum for 1 minute.Keep aside the fried
  onion and capsicum slices.
* Next,in a pan heat up 2 tbsp of oil.
* Once the oil is heated well,add garlic and ginger. Saute them for a minute.
* Next add finely chopped green chilli and fry on high flame for about 30 seconds.
* Next add 1.5 tbsps of soya sauce,1 tbsp of vinegar and 2 tbsps of chilli sauce.
* If required add a pinch of salt but remember,sauces will also have salt
  content.
* Mix everything together and allow them to blend for 1 minute.Next add fried
  onion and capsicum slices.Give a good toss.
* And now add in the crispy fried paneer cubes and mix well.
* Finally add finely chopped spring onion greens.Retain some for garnishing at the end.
* Give a good mix and serve.
Step by step photos :
1.In a mixing bowl take 1/4th cup of all purpose flour.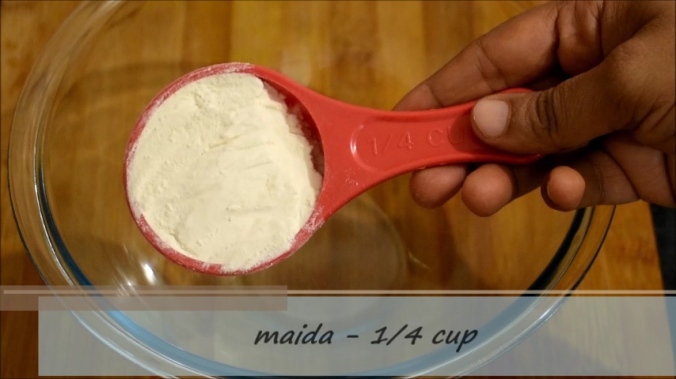
2.To this,add 1/4th cup of corn flour.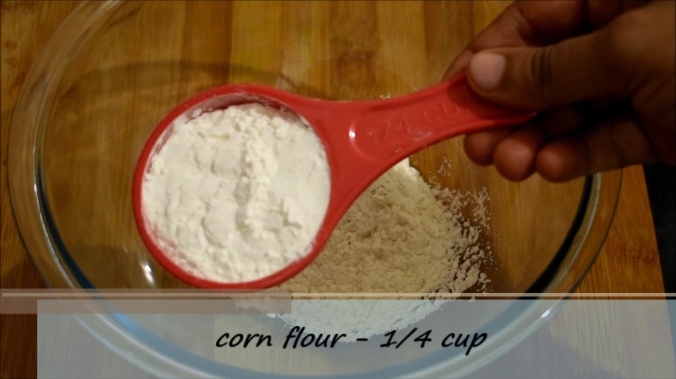
3.Also add a pinch of salt. 
4.Mix it well.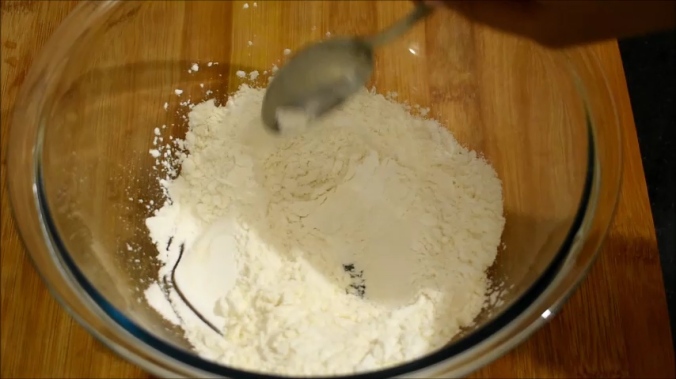
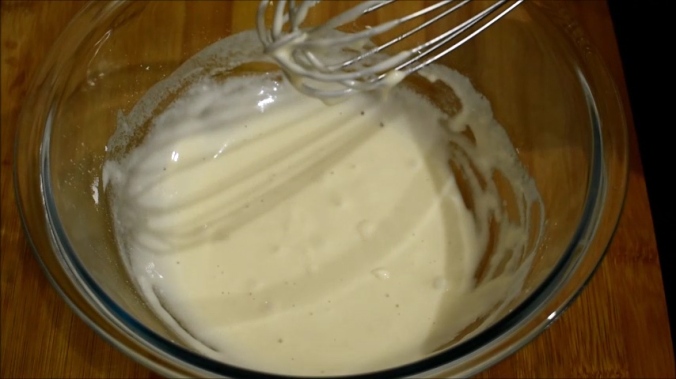
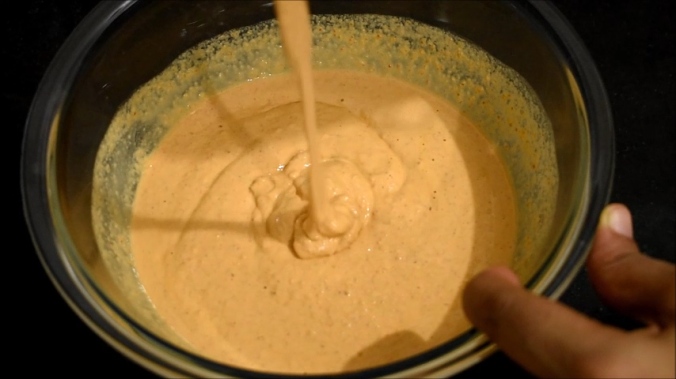
5.Add required quantity of water to make a thick batter as shown in the photo below.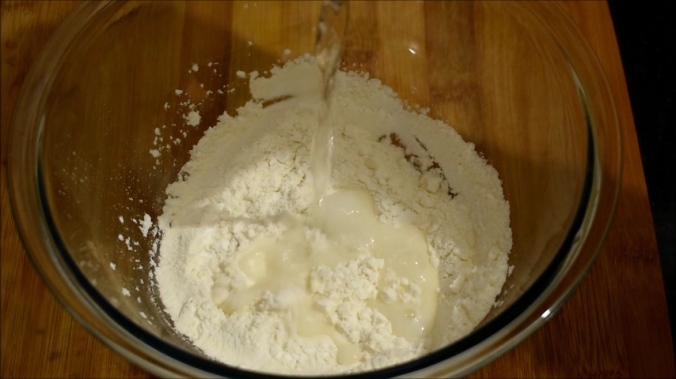
6.To this thick batter,add the paneer cubes or slices.Cut them either into 1 inch length cubes or rectangular slices.
7.Give a good coating of the batter to paneer slices.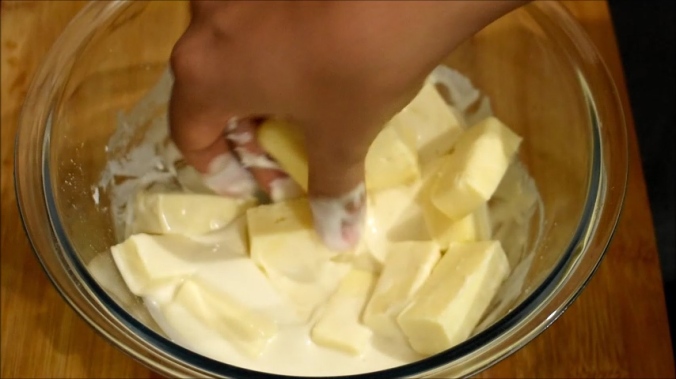
8.Now deep fry the batter coated paneer slices on high flame until they get a crispy outer layer.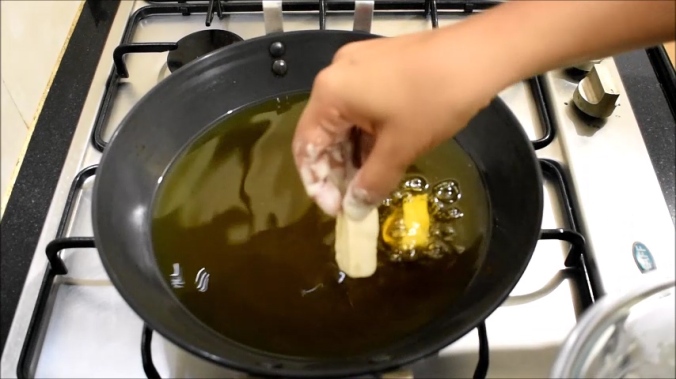
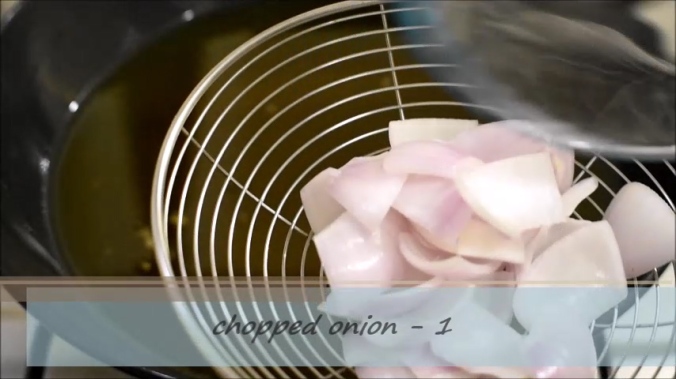
9.Keep aside the fried paneer slices.Next,in the same oil fry chopped onion for only 1 minute as shown in the photo.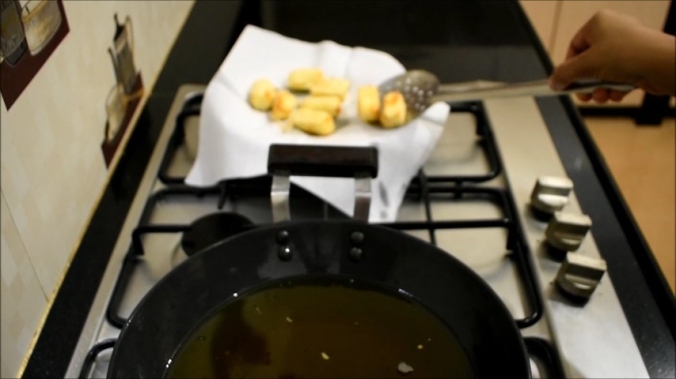

10.After onion,fry capsicum slices too.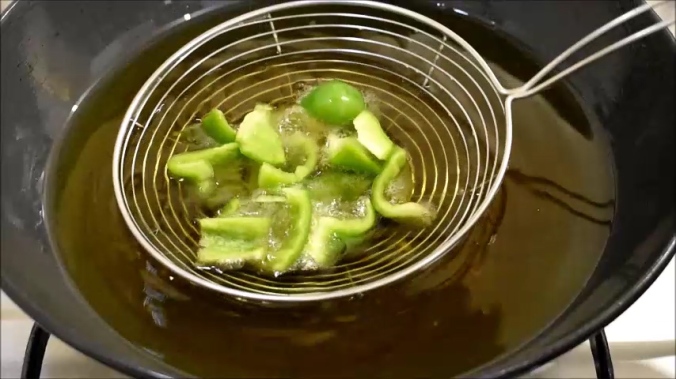
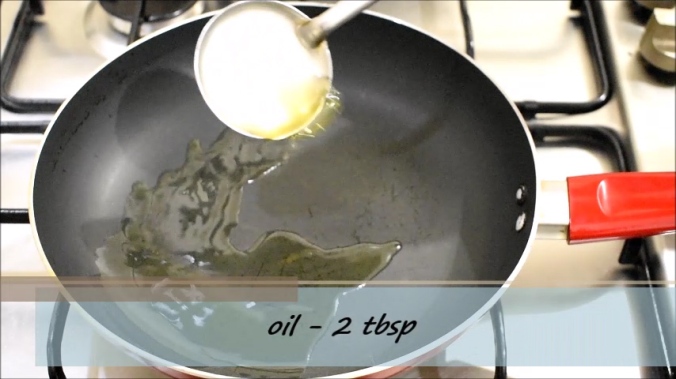
11.Keep aside the fried onion and capsicum slices.To make chilli paneer,take a nonstick pan and heat up 2 tbsp of oil.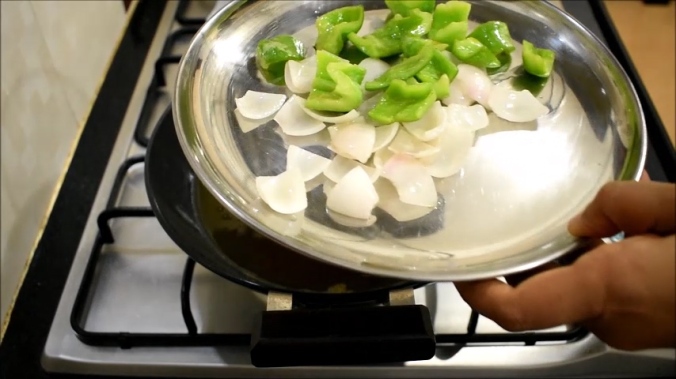
12.To the hot oil add finely chopped garlic and ginger.Saute them .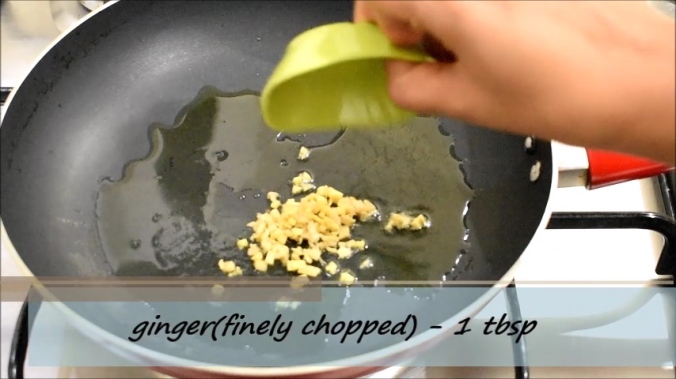

13.Next add green chillies and fry for about 30 seconds.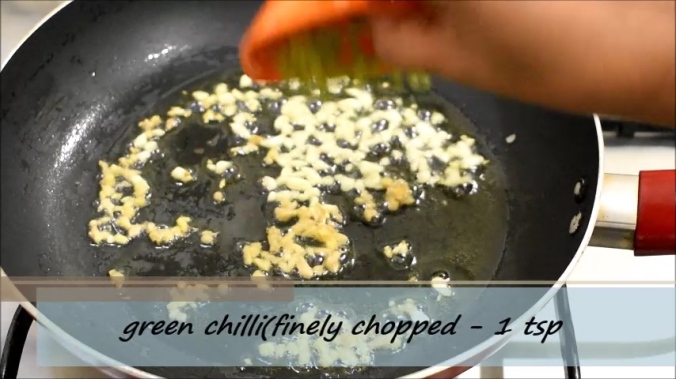
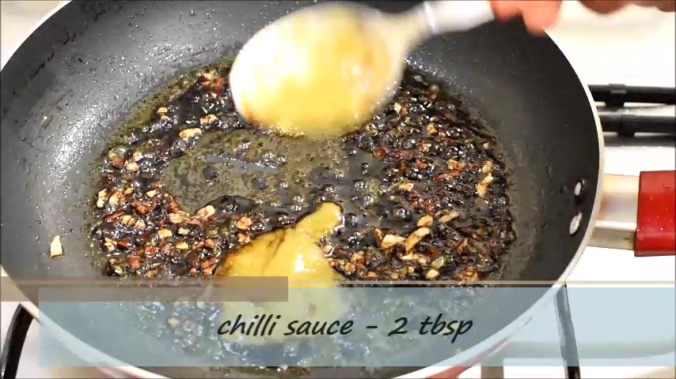
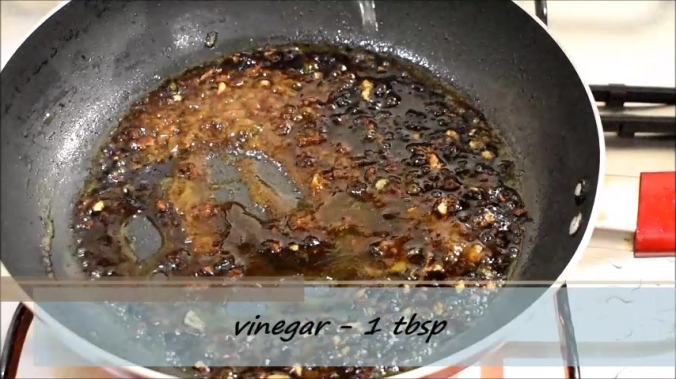
14.Next add soya sauce,chilli sauce and vinegar.Mix well and allow them blend together for 30 seconds.

15.Next add fried onion and capsicum and mix well.
16.Add a pinch of salt.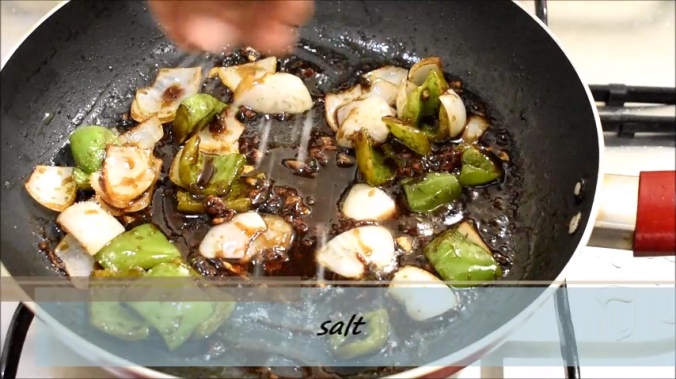
16.Now add fried paneer slices.Give a good toss.
17.Now add a tbsp of tomato sauce.However, it is optional.
18.Finally add spring onion greens and toss it again.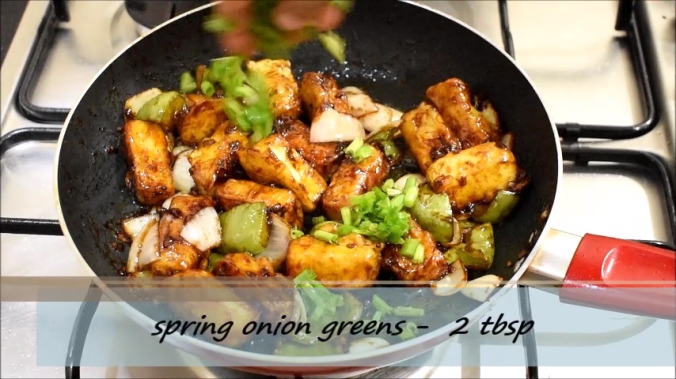
19.Our paneer chilli dry is ready to serve 🙂 . Garnish it with some more finely chopped spring onion greens. For the complete video recipe with detailed narration click here:https://goo.gl/5qL1r3
Happy cooking 🙂 .


 For the complete video recipe click here : https://goo.gl/CvDH3l
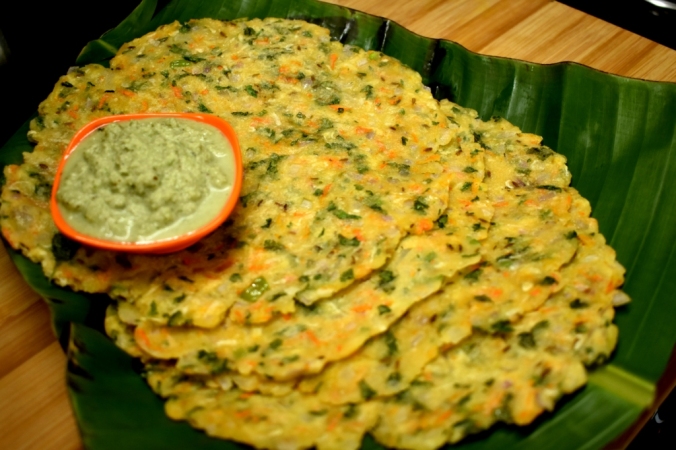

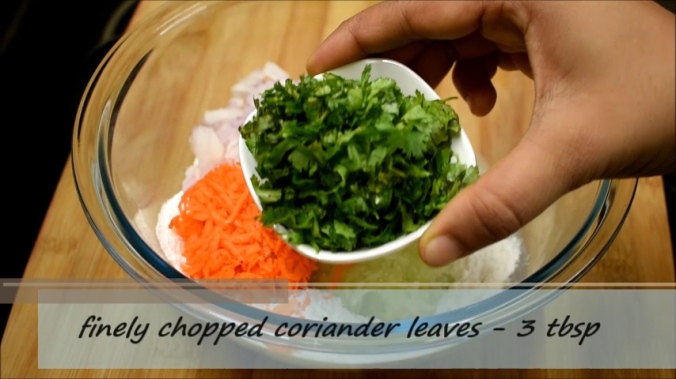
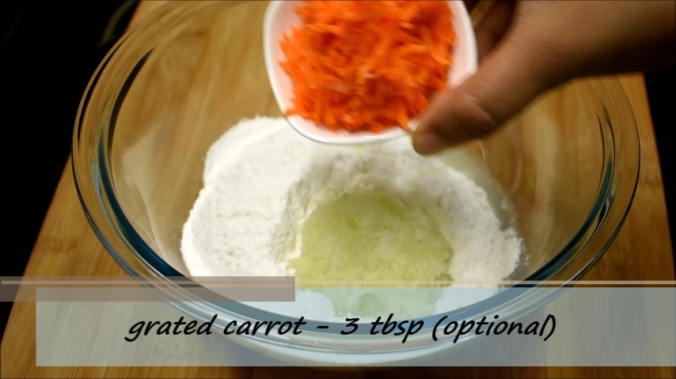 3.Next add 3 tbsps of finely chopped onion and finely chopped coriander leaves.
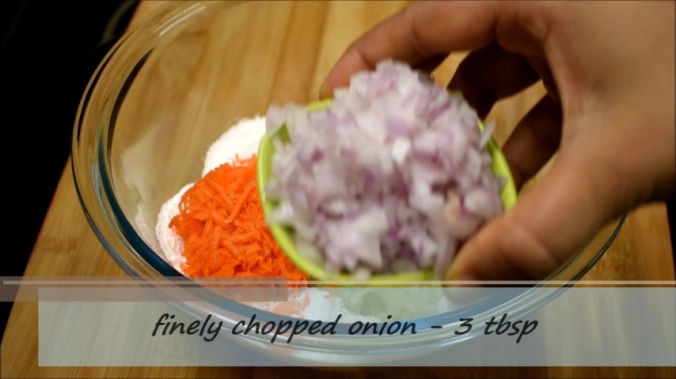
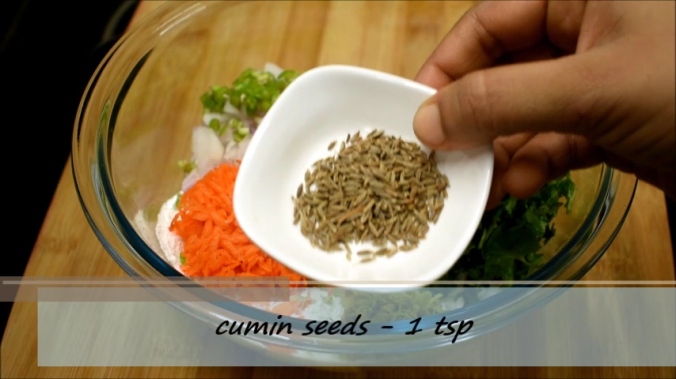
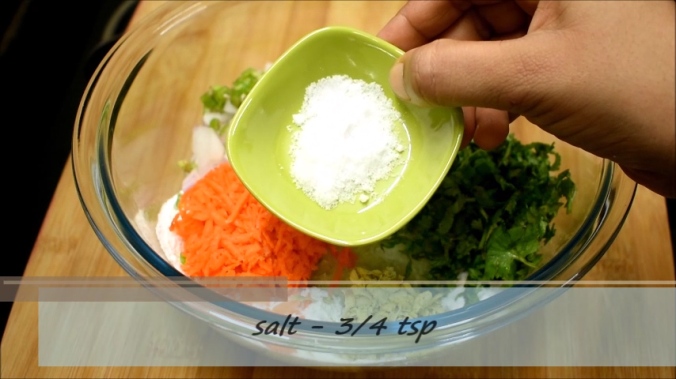
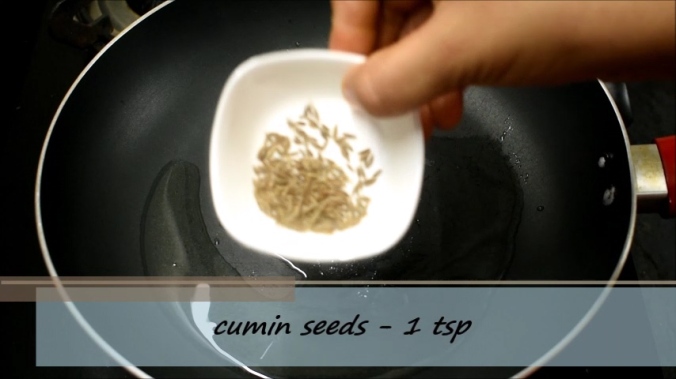
 4.Also add 1 tsp of finely chopped or grated ginger,3/4th tsp of salt (or as per taste) and a tsp of cumin seeds.
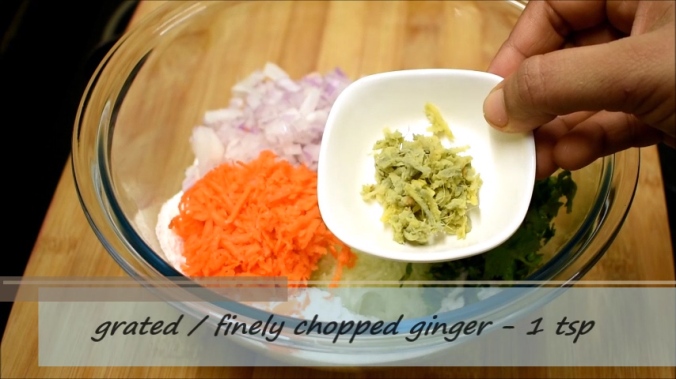
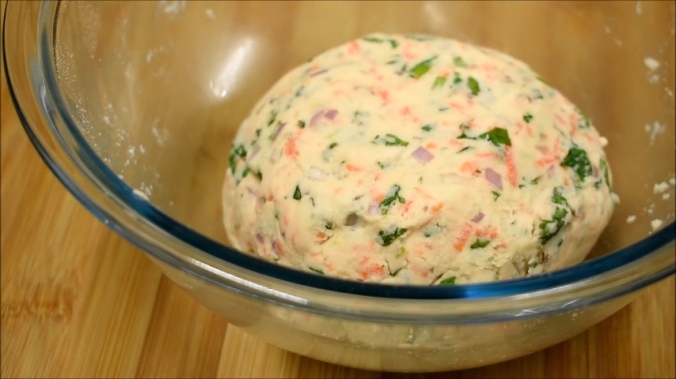
 5.Mix everything together and then add water little by little to make a soft dough.
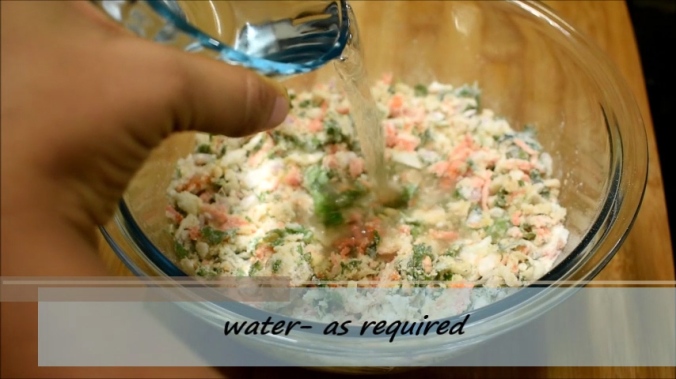
 6.Take a small portion of the dough and shape it like a ball.Place it on a plantain leaf greased with oil.You can also use butter paper for patting rotti.
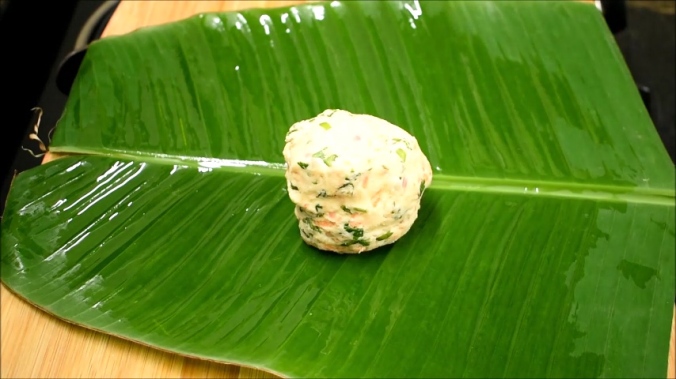
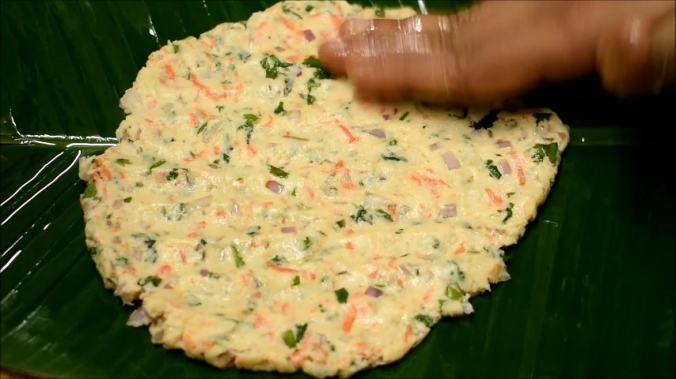 7.Try to pat the rotti as thin as possible to make it taste better.
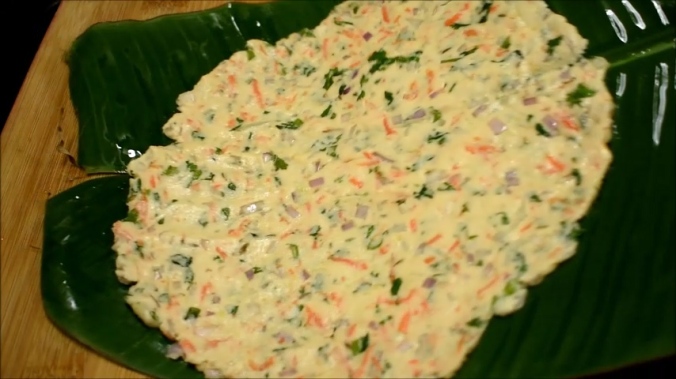 8.Place the rotti along with plantain leaf (upside down) on a heated tawa for roasting the rotti. Wait for few seconds before you remove the leaf otherwise the rotti may tear.
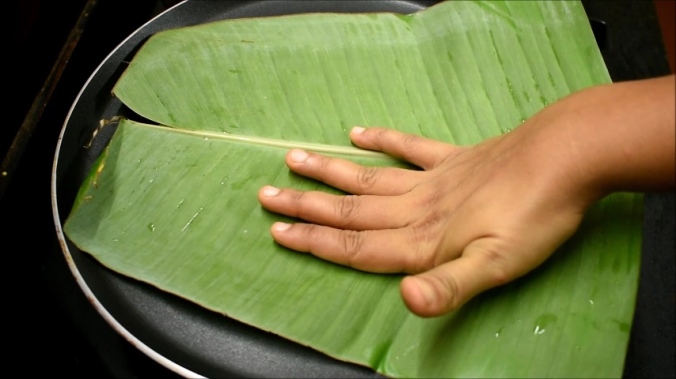
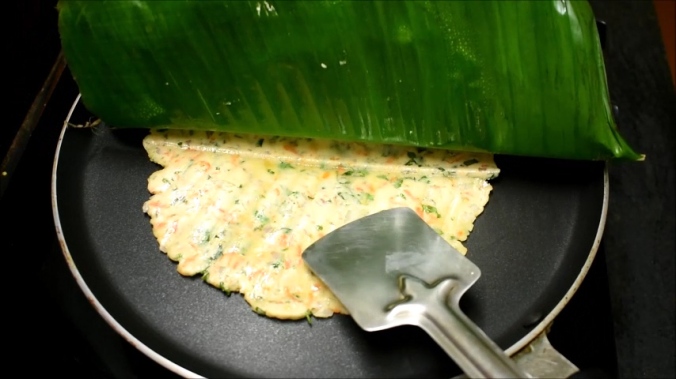 9.Roast the rotti well on both sides.Apply little oil or butter or ghee while roasting.And serve the rottis with coconut chutney or vegetable sagu.
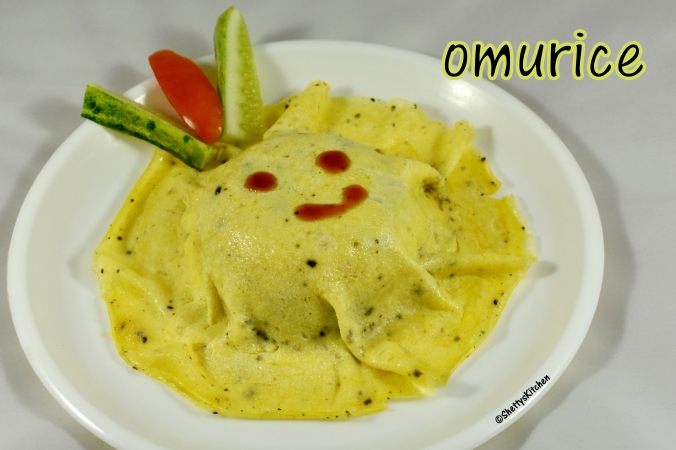

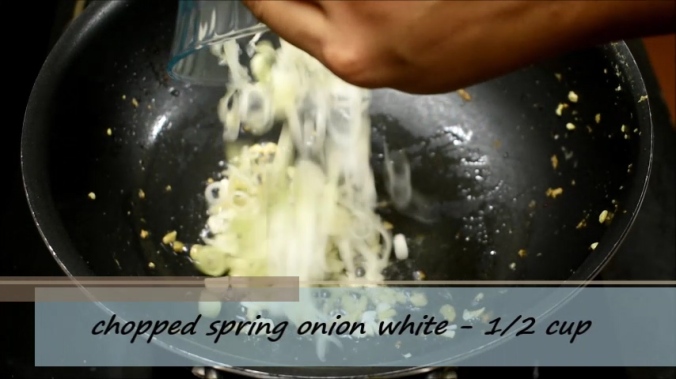
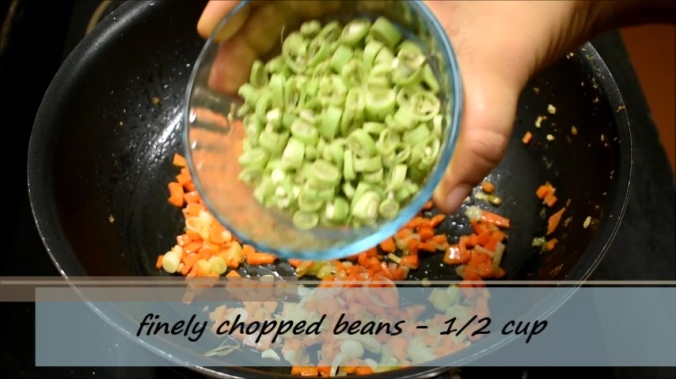
 2.Add ginger.
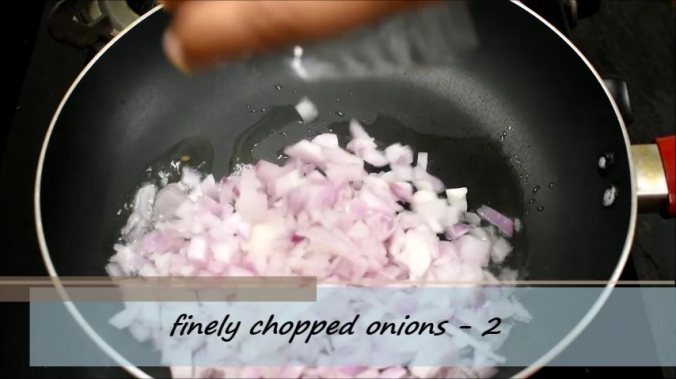
 3.Add onion and stir fry for 2 minutes on high flame.
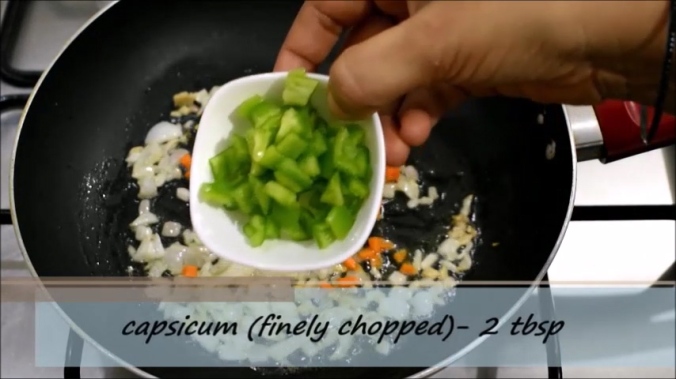
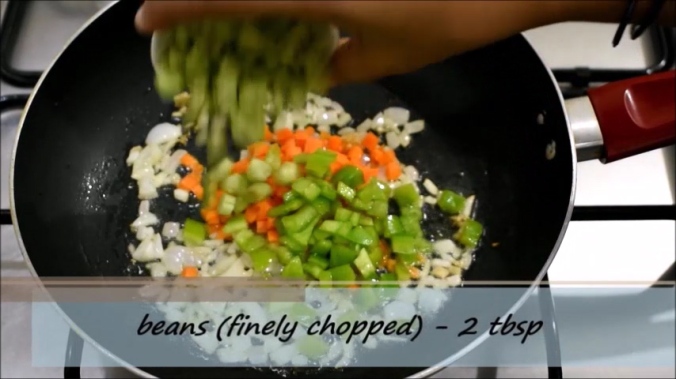
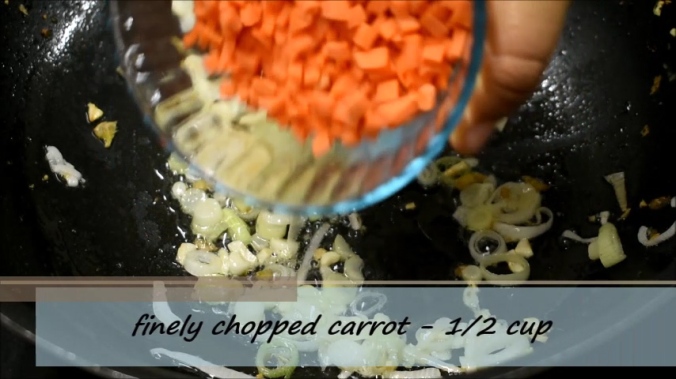
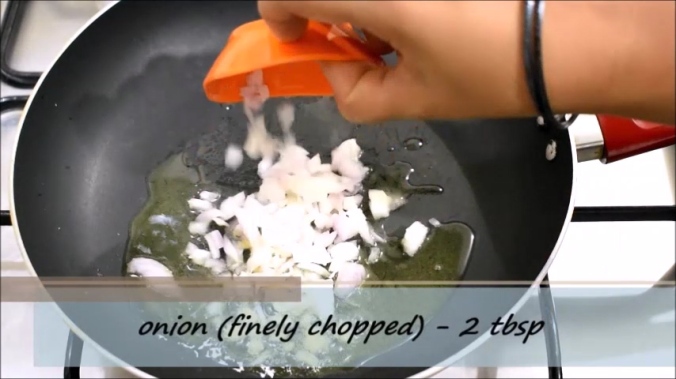 4.Add all the vegetables.
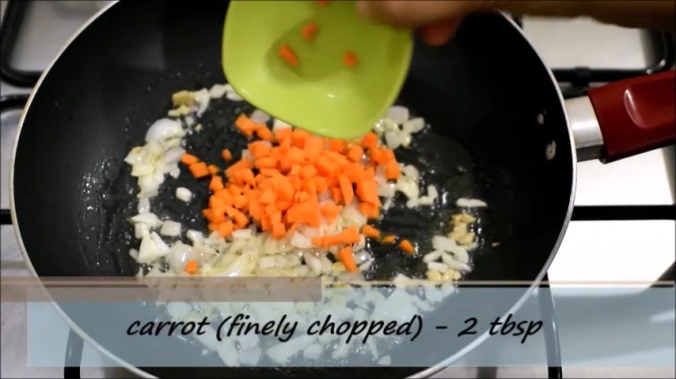
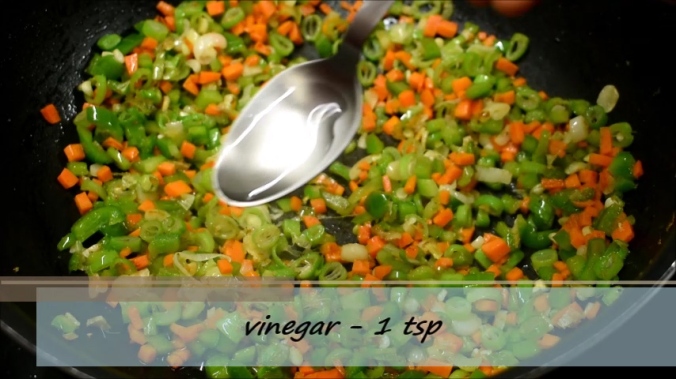
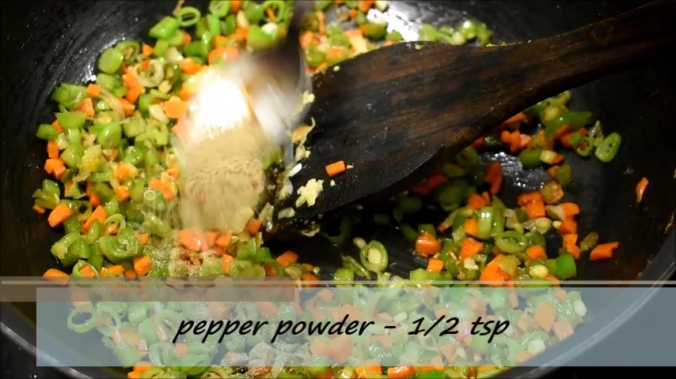
 5.Add green chilli.Stir fry for 2 minutes on high flame.
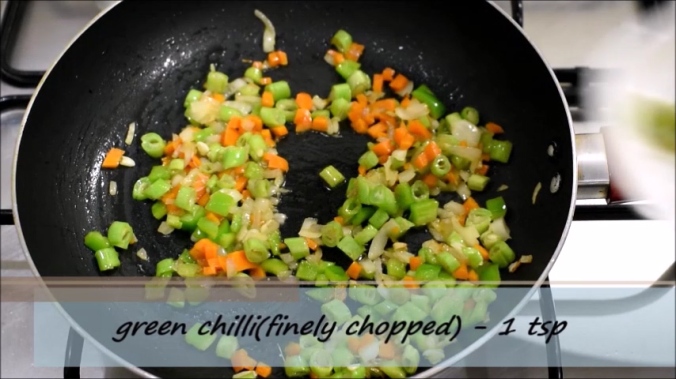 6.Add tomato sauce and mix well.
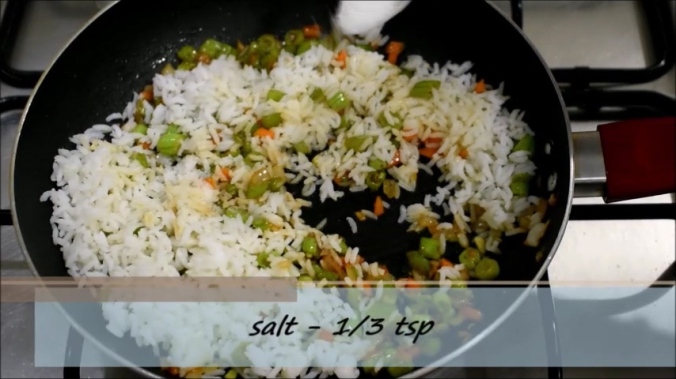
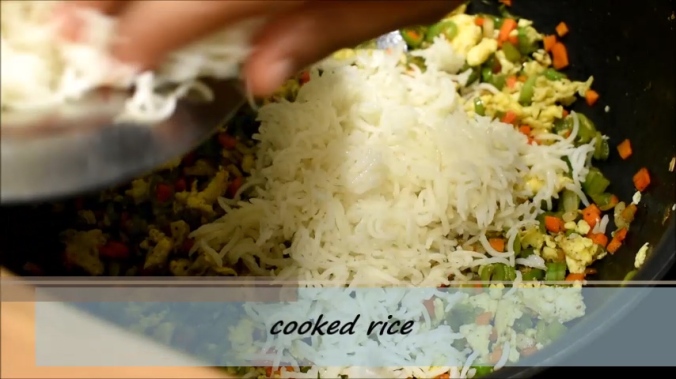
 7.And now add cooked rice and salt to taste .Mix it well.
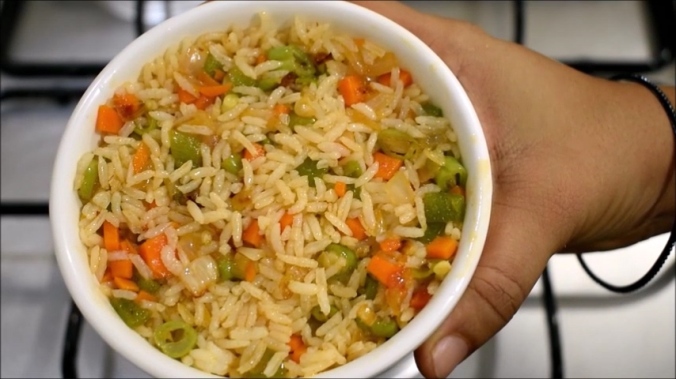
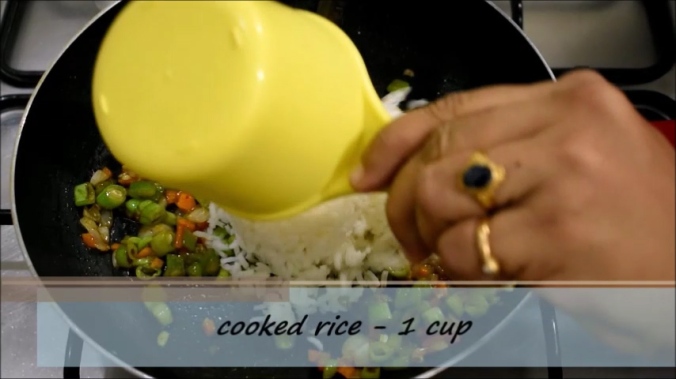
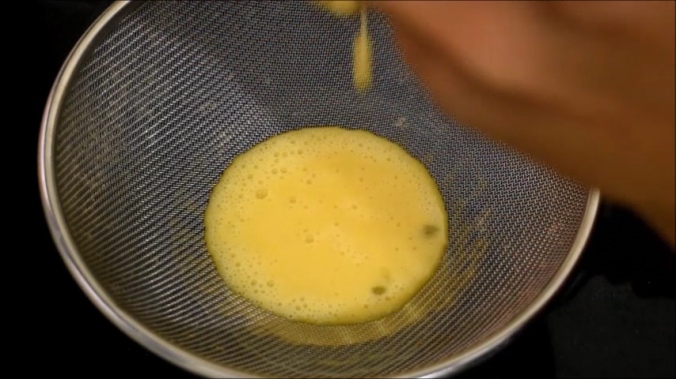
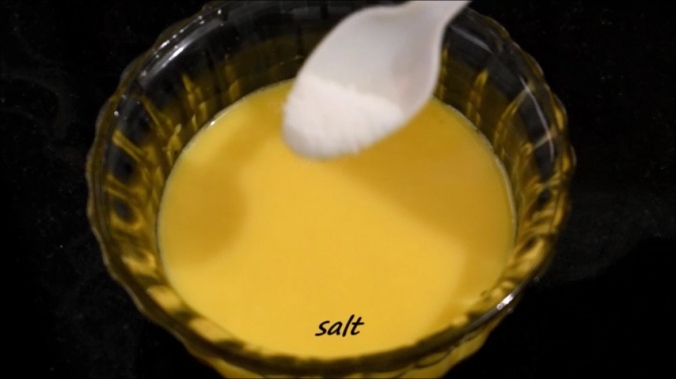
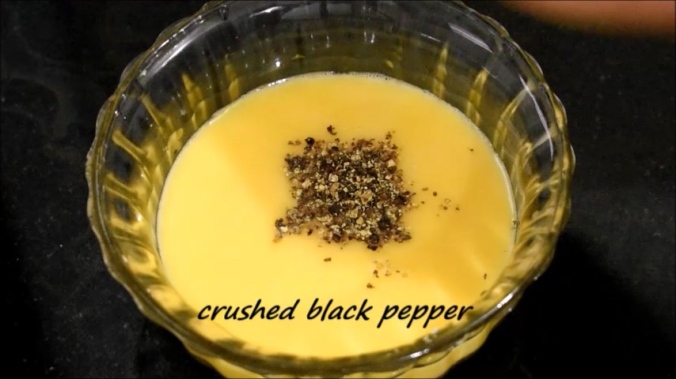
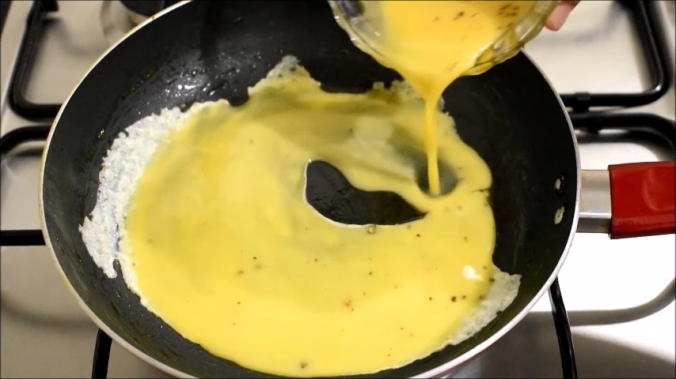
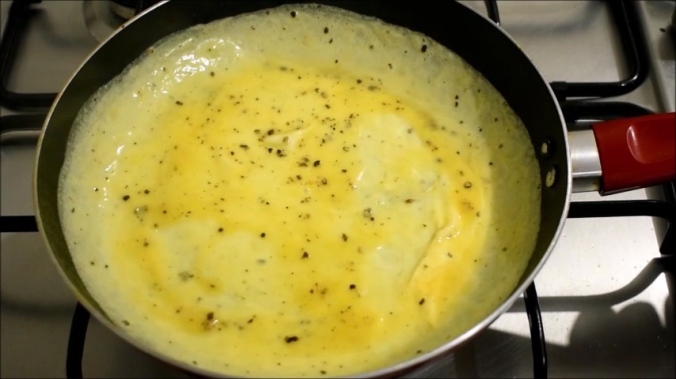
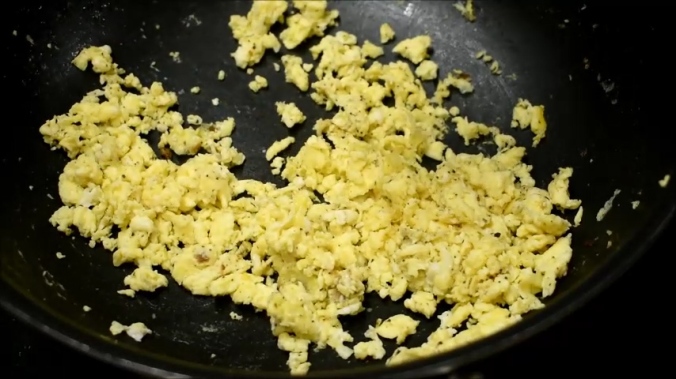
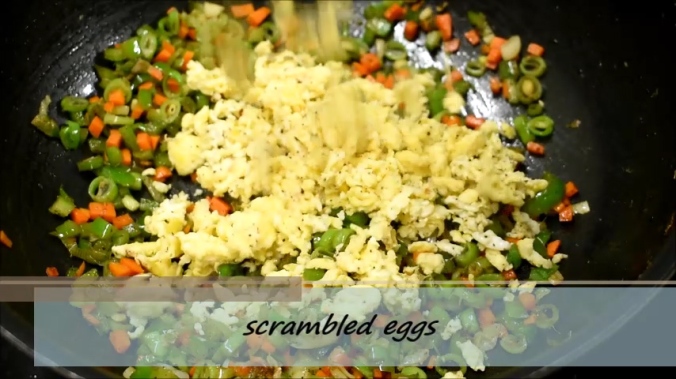
 9.Beat 2 eggs,strain to remove the chalazae and add salt & pepper.Pour it onto the same pan. Cook on low flame to retain the yellow texture.See the step by step photos below.
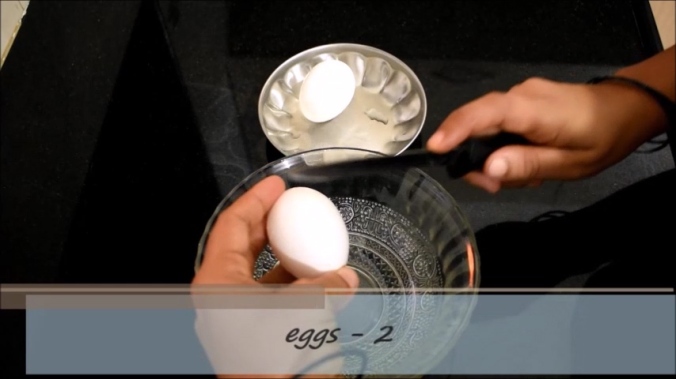
 10.Place the rice on a plate upside down.Remove the cup.And now place the omelette on the rice and tuck it near the rice edges as shown in the photo below.
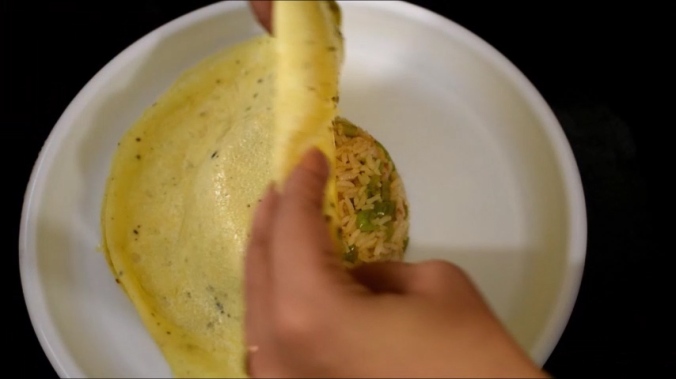 Show off (lol) your drawing skill to your kid by drawing a smiley on top with ketchup.And our tasty omurice..yes .. omurice is ready to serve 🙂
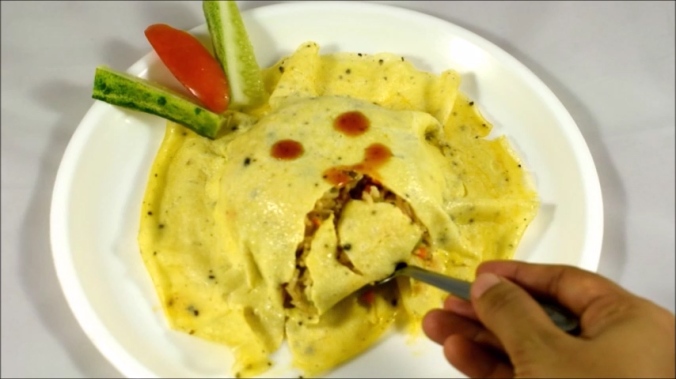
 And you can find complete video recipe here:
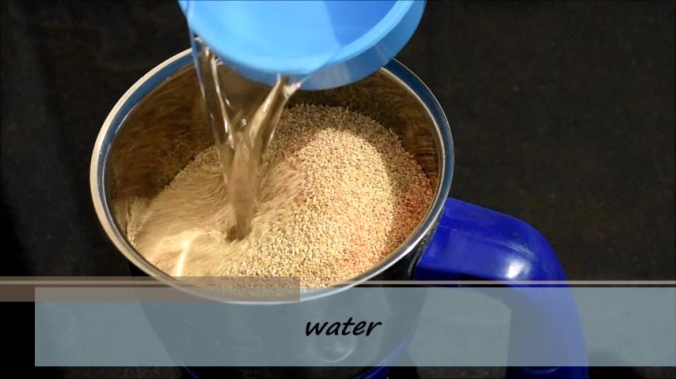
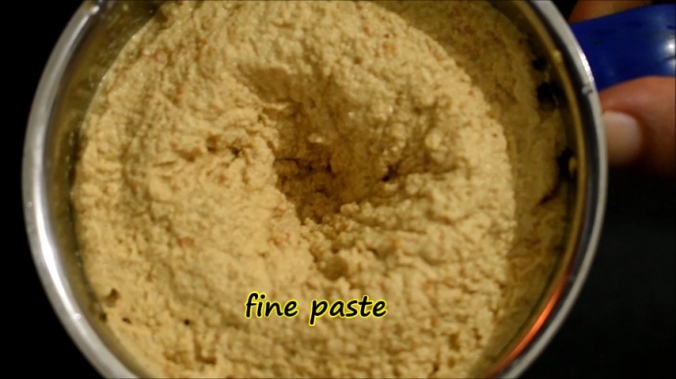
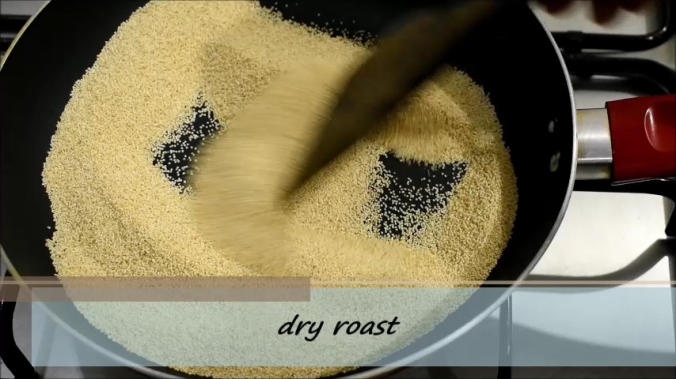 2.Transfer the dry roasted poppy seeds to blending jar,add little water and grind it into a fine paste.
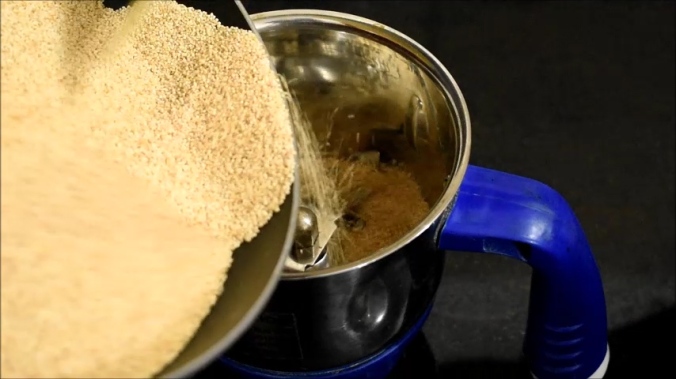
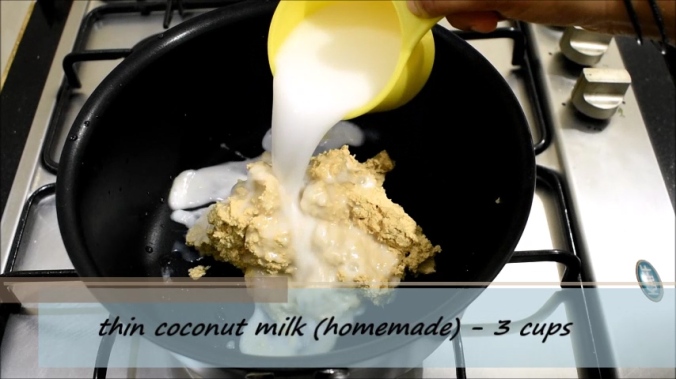
 3.Transfer the poppy seed paste to a pan or a wok and add 3 cups of fresh homemade thin coconut milk.Mix it well and turn on the flame.It is important to use homemade and fresh coconut milk and not the shop bought as it may contain some preservatives.
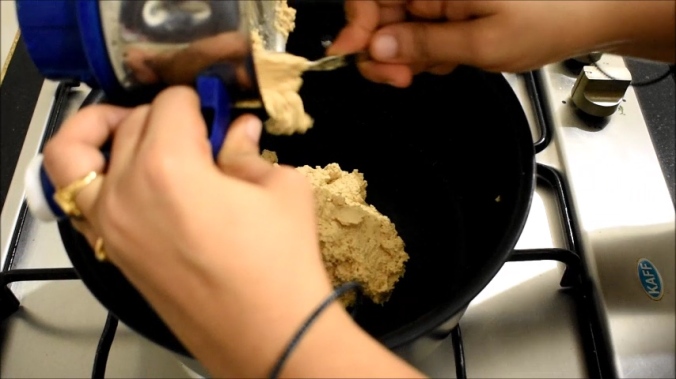
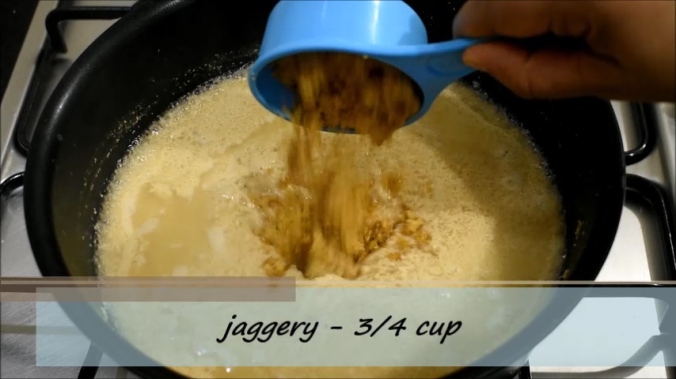
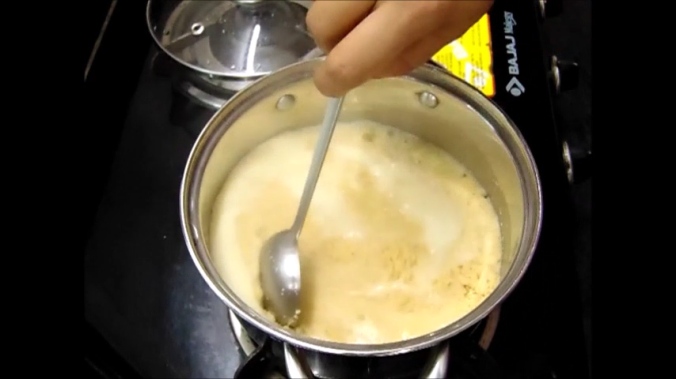
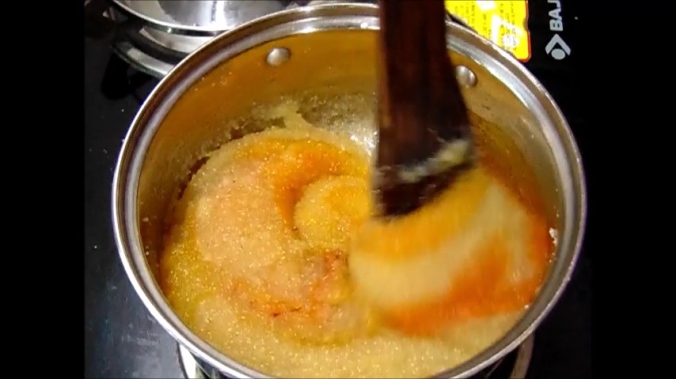
 4.Keep stirring it and let it boil in medium flame for 5 minutes.After 5 minutes add 3/4 cup of jaggery.
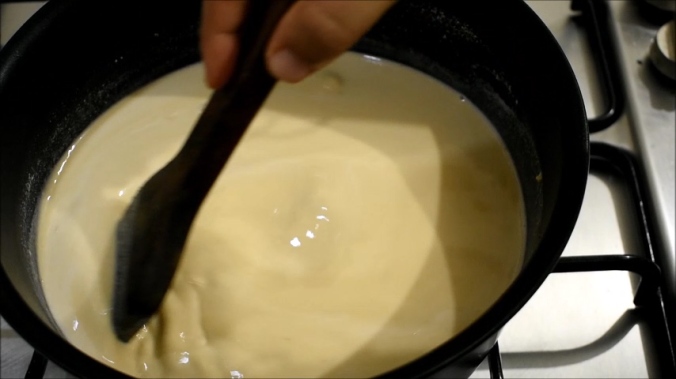
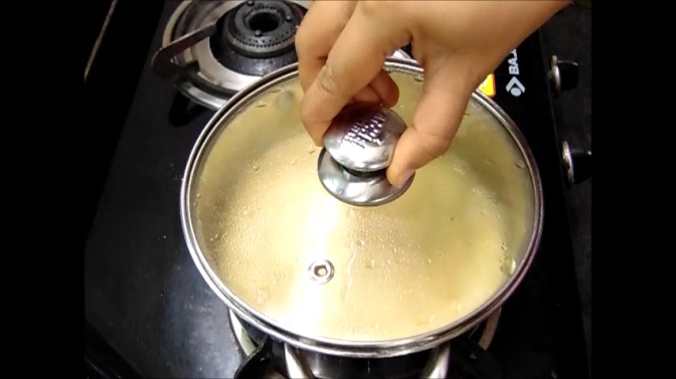
 5.Once the jaggery has melted and the mixture has come to second boil,add fresh homemade thick coconut milk.
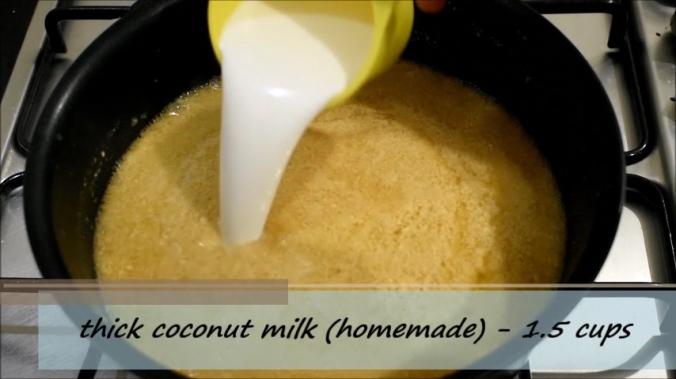 6.Close it with a lid and boil it in low flame for 3 minutes.And then turn off the flame.
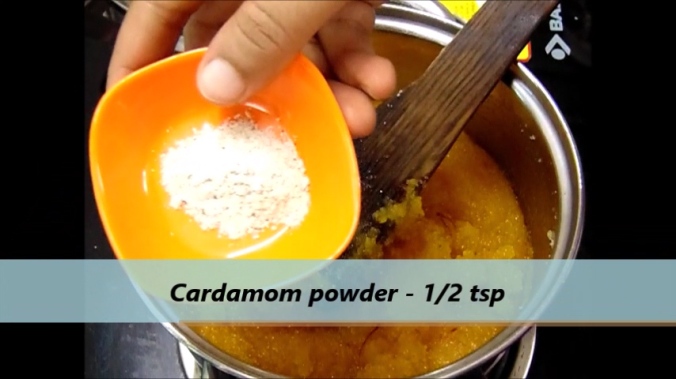
 7.After turning off the flame add cardamom powder and mix it.
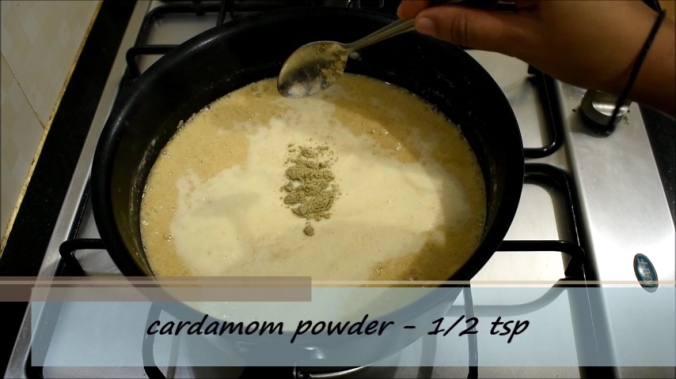 8.Allow the kheer to cool down and then serve it in a bowl or glass.
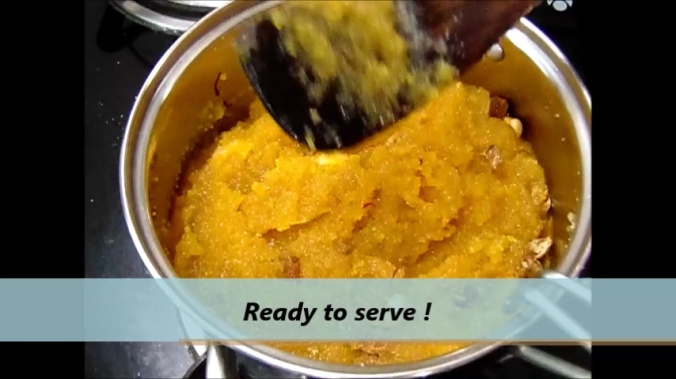
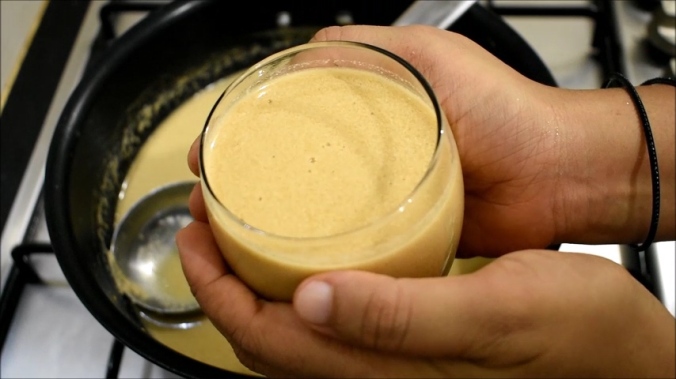 And our natural sleeping drug poppy kheer or gasagase payasa is ready to drink 🙂 .. For video recipe click here:
 2.Cut jee gujje vertically into 4 portions and remove the inner most part and discard it.
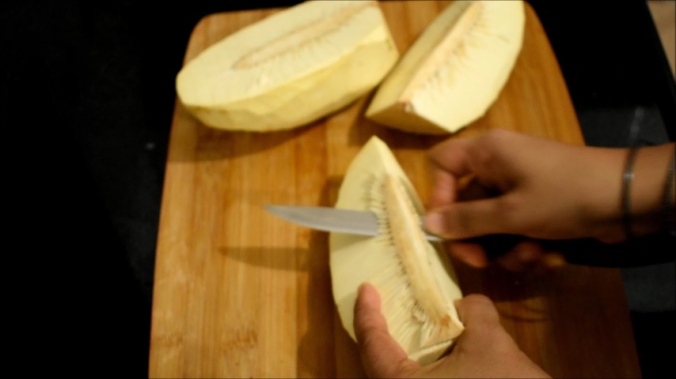 3.Cut one portion into thin slices.
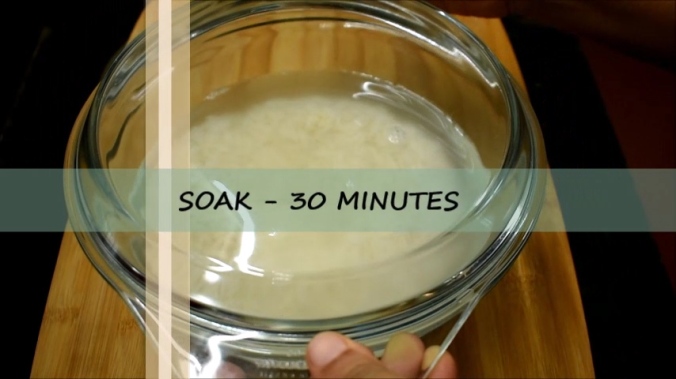
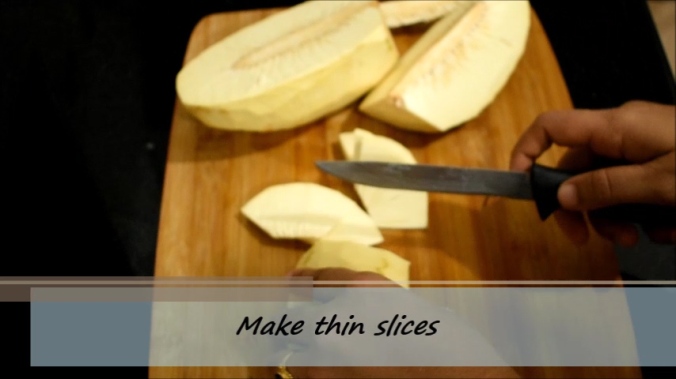 4.Soak the slices of jee gujje in water for 30 minutes.
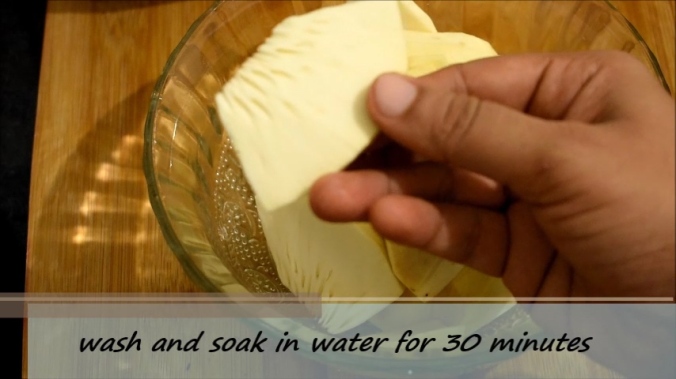
 6.Dry roast the spices for 3 to 4 minutes in low flame.Just before turning off the flame add a pinch of hing powder or asafoetida to the pan and roast it.
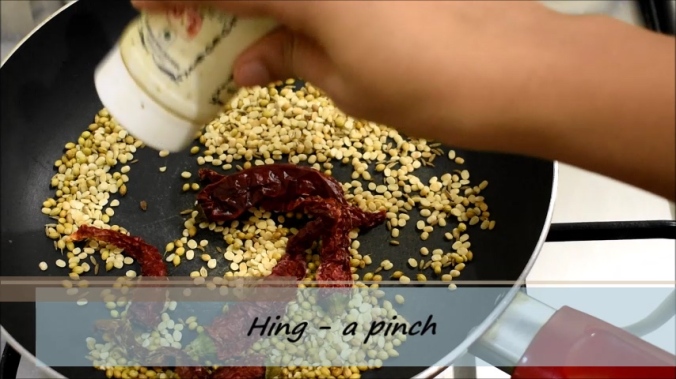 7.For batter preparation soak dosa rice in water for 1 hour.Drain the water from soaked rice and transfer the rice into a mixie jar.
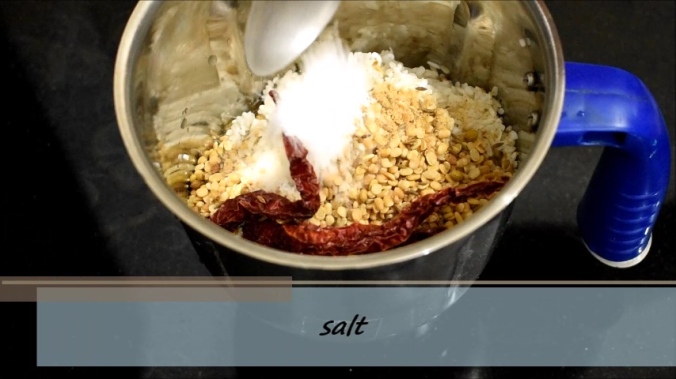
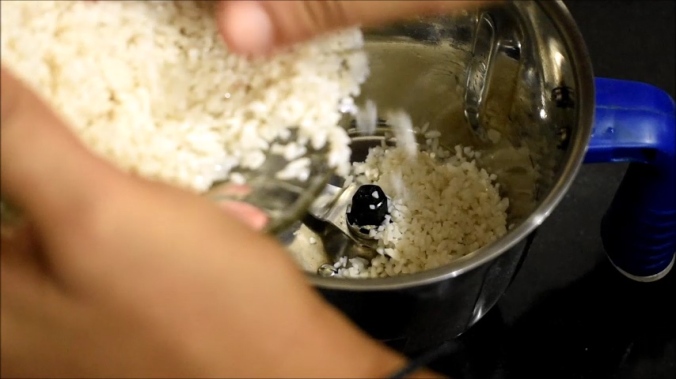 8.Also add the dry roasted and cooled spices into the jar along with salt and little water.
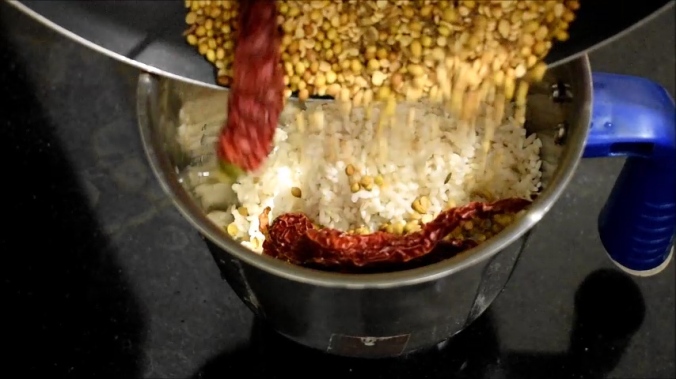
 9.Grind it and make a fine and thick batter.Bring the batter into right consistency.
 10.Apply 2 tbsp of oil on a tawa.
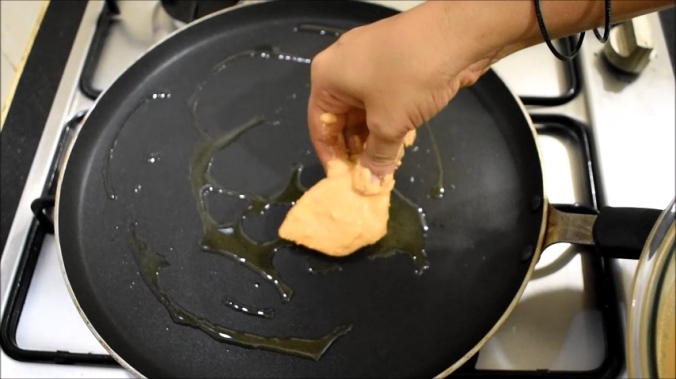
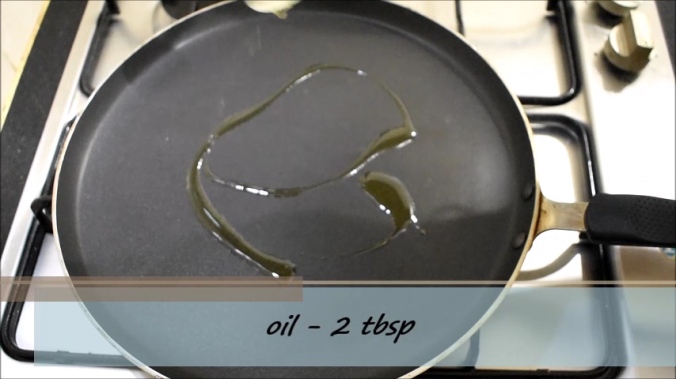 11.Dip the jee gujje slices in the batter and shallow fry in low flame on each side for 3 to 4 minutes.
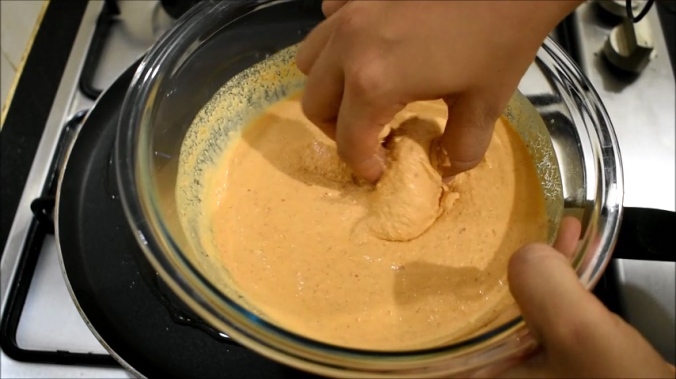
 12.Remove it on a tissue paper after frying well on both sides.And our crispy and tasty Jee gujje podi is ready to taste 🙂

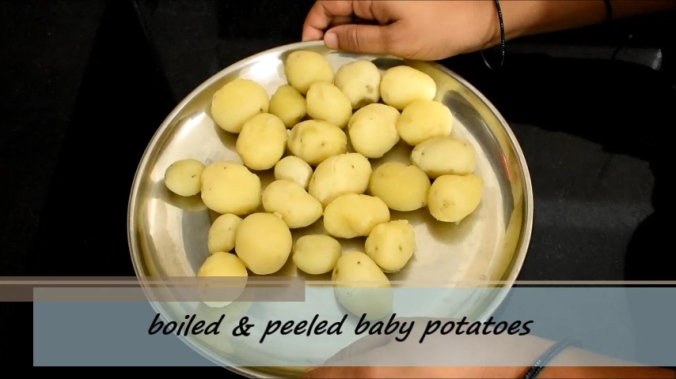 2.Next,prick the boiled and peeled potatoes with help of a toothpick.
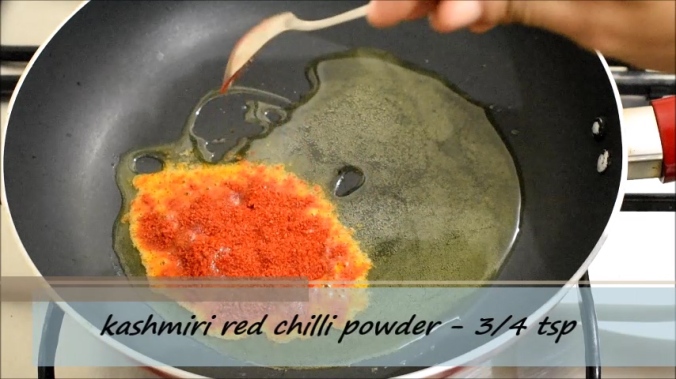
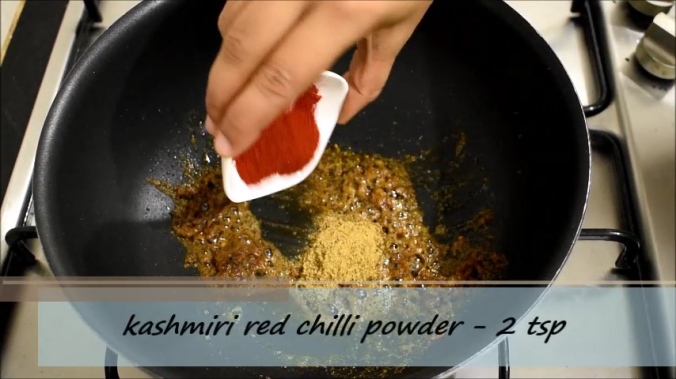
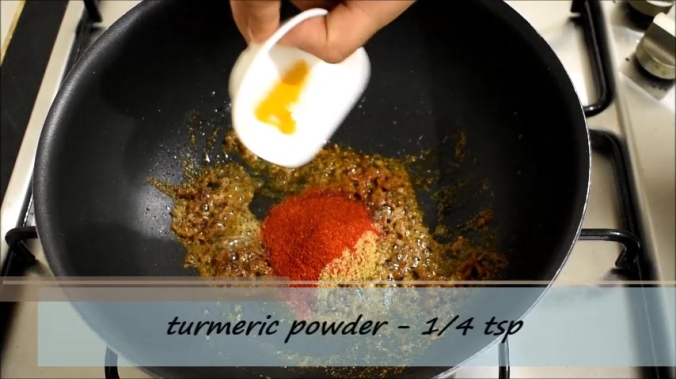
 3.In a pan heat up 4 tbsp of oil and once the oil is heated well add kashmiri red chilli powder and turmeric powder.
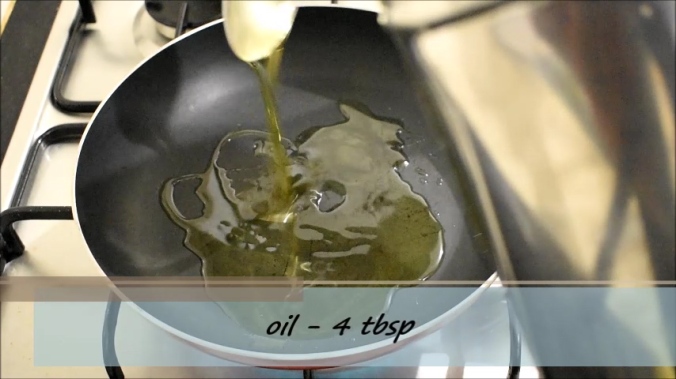
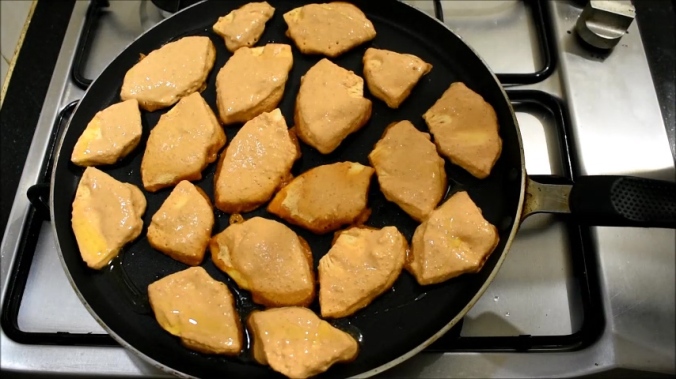
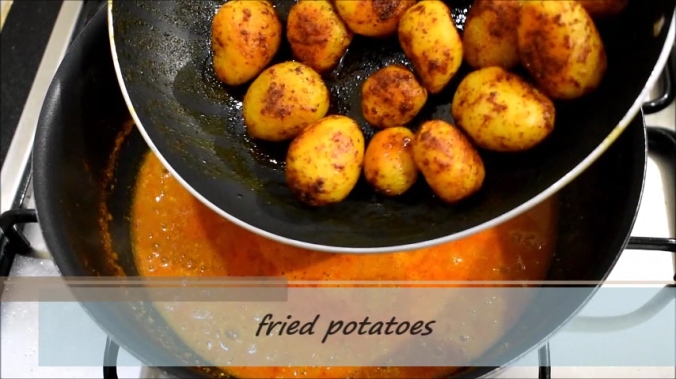
 4.Add the boiled baby potatoes to the pan and shallow fry it by stirring it in between for about 4 to 5 minutes in low flame.
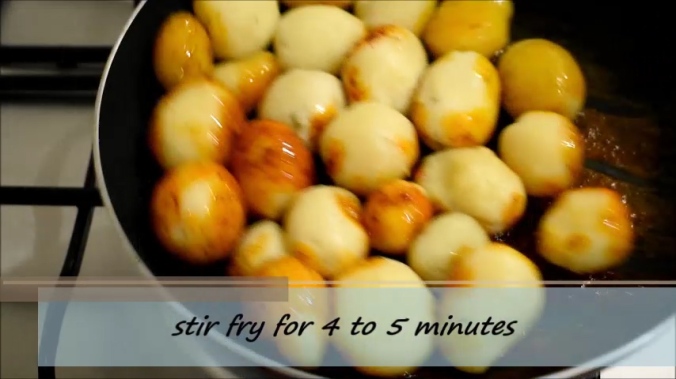 5.Keep aside the shallow fried baby potatoes.Next in a mixing bowl add 1/2 tsp of kashmiri red chilli powder to 150 ml of beaten hung curd or yogurt.Mix it well.
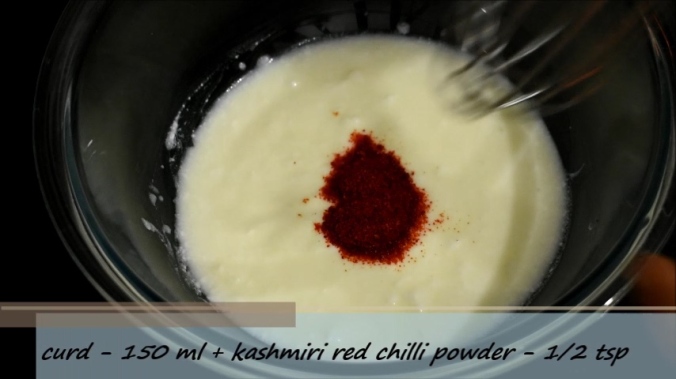
 6.Keep aside the curd.Next in a wok or a kadai heat up 2 tbsp of oil.
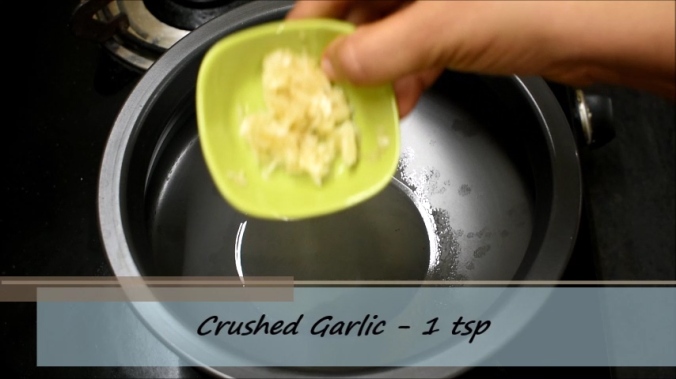
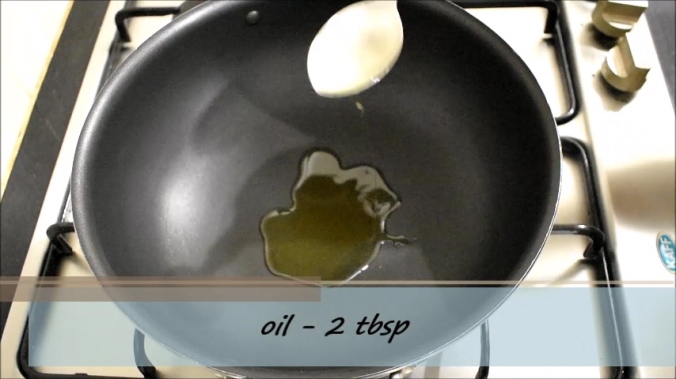 7.Add 1/2 tsp of ginger garlic paste and fry it for a minute.
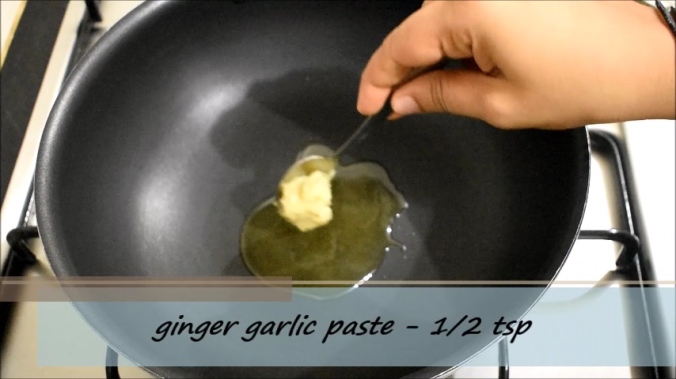 8.Next add crushed whole garam masala spices and roasted cumin powder.You can also add raw cumin powder.
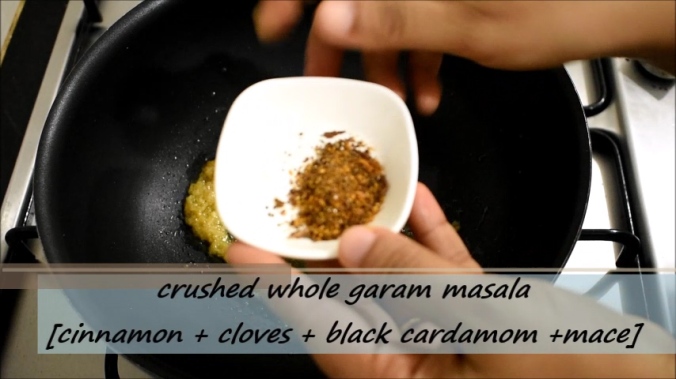
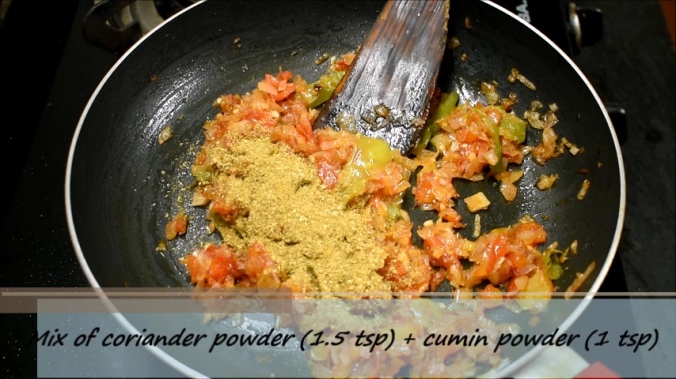
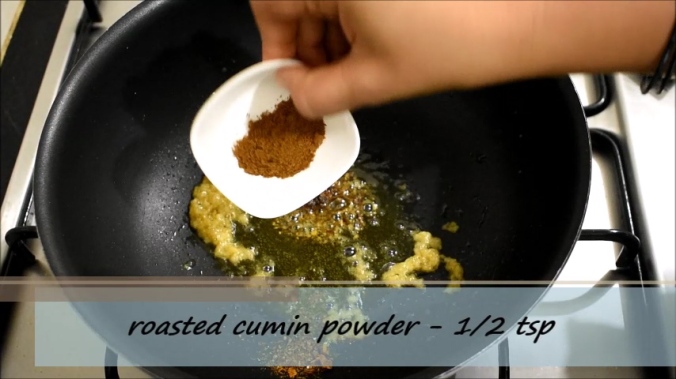 9.Fry it well and next add coriander powder,red chilli powder and turmeric powder.Fry them well.
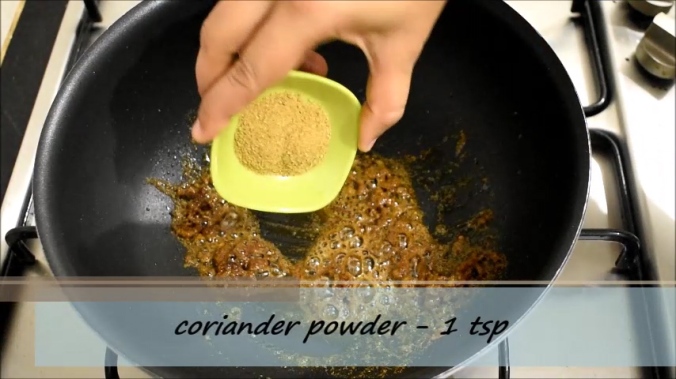
 10.Next add tomato puree of 4 medium sized potatoes and mix well.Cook this for 2 minutes in medium flame.
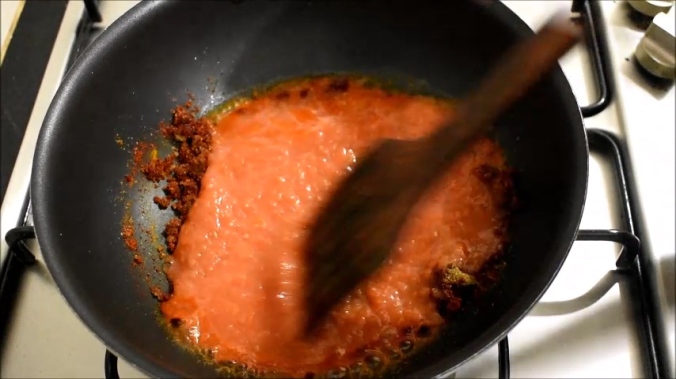 11.Next add cashew nut paste.Take about 20 cashew nuts,soak it in water for 10 minutes and make a fine paste of it.Add this paste and mix well.
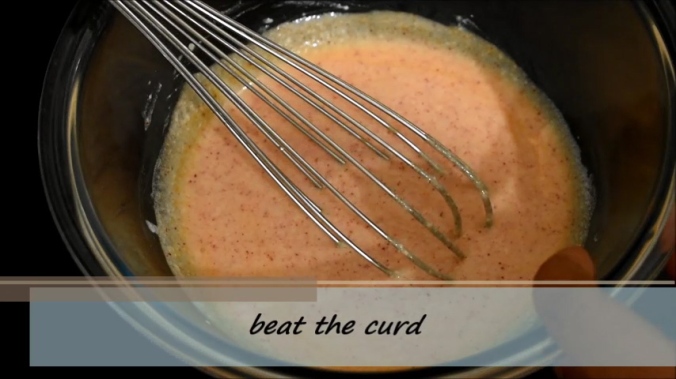
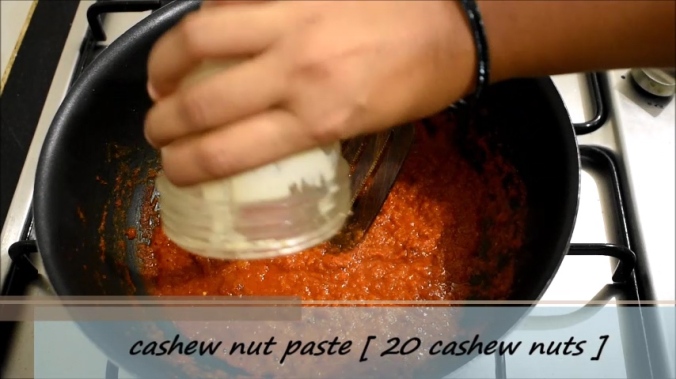 12.Next add beaten curd.After adding curd flame should be kept low and gravy should be continuously stirred to avoid the gravy from curdling.
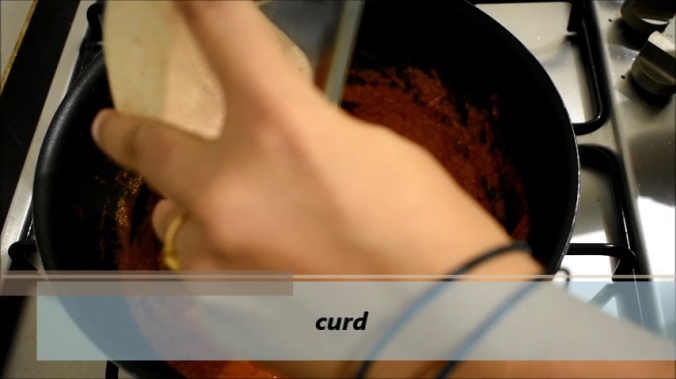 13.Once the gravy comes to first boil add water as required.Do not add more than a cup of water.
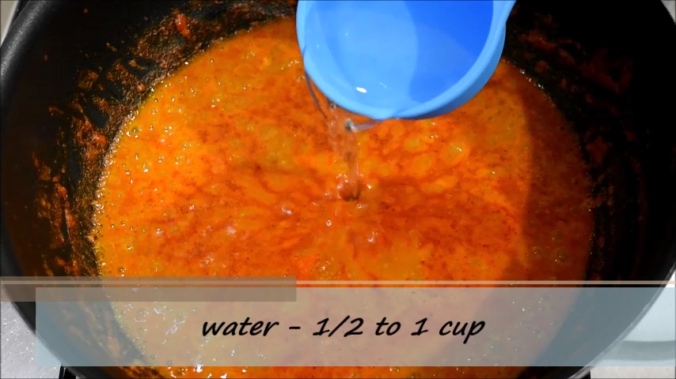 14.After adding water wait again until the gravy comes to second boil.Once it starts boiling add garam masala powder, mix well and then add shallow fried potatoes.
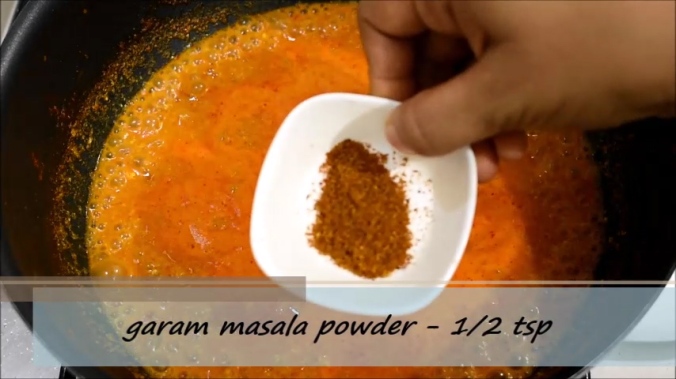
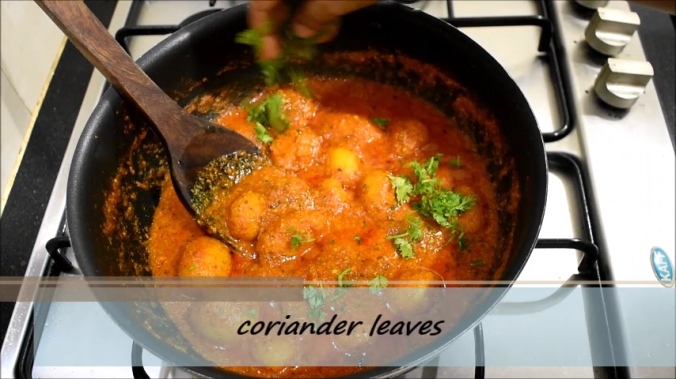
 16.After cooking it in low flame for 3 minutes add 1 tsp of crushed kasuri methi,mix well and turn off the flame.Finally add chopped coriander leaves.
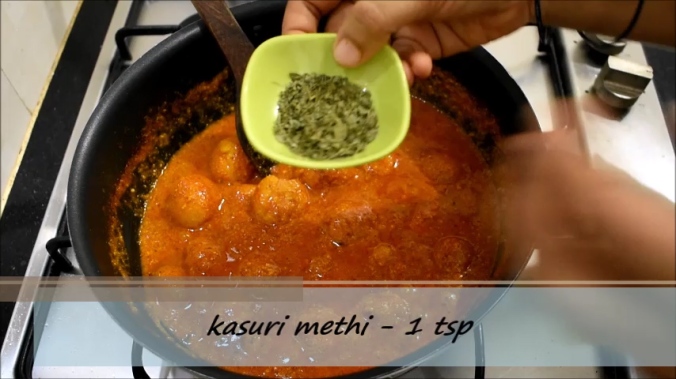
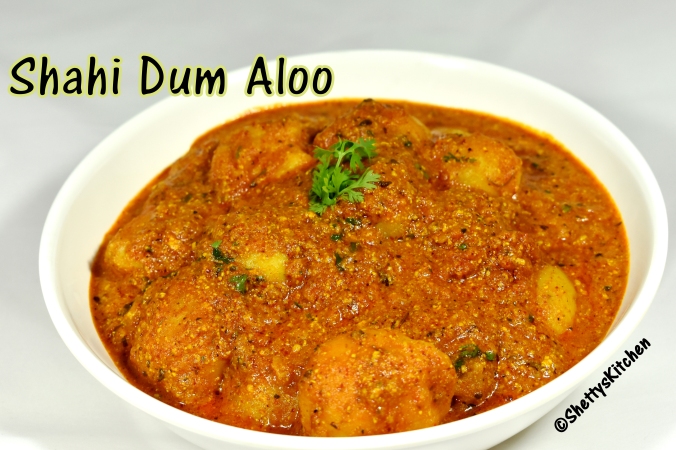
 17.And our tasty kashmiri dum aloo is ready to serve 🙂
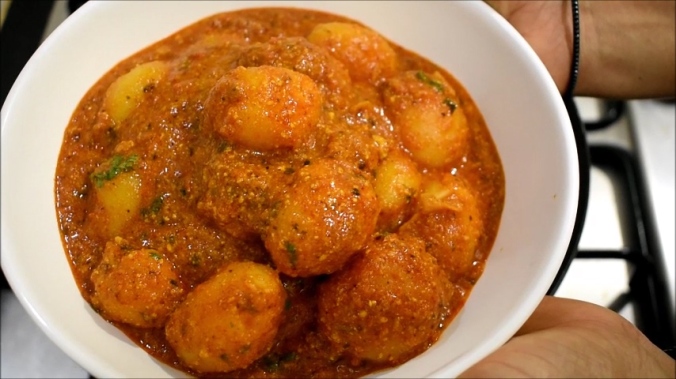
 Complete video recipe can be found here :
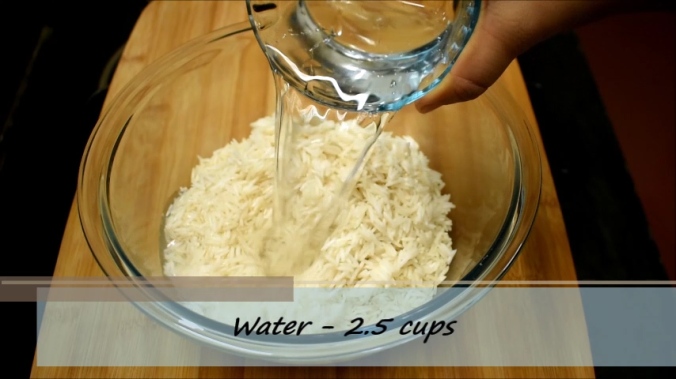
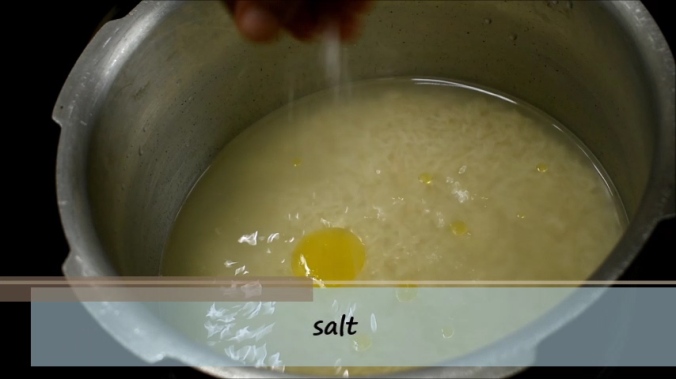
 4.Also add salt as per taste.
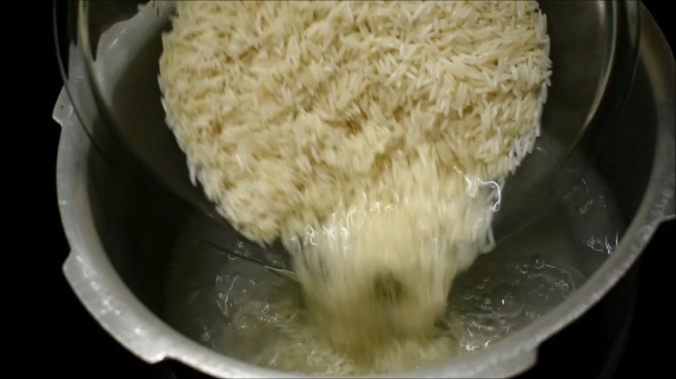
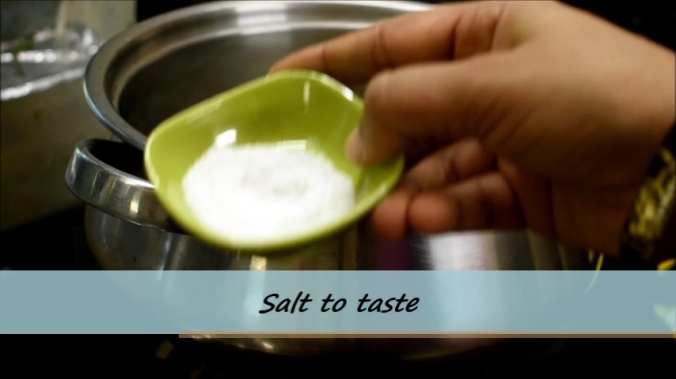 5.Next add rice to boiling water.Keep rice soaked in water for 30 minutes before adding it to boiling water.6
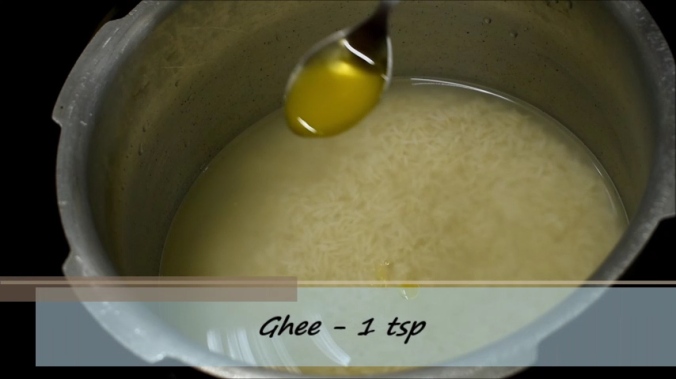
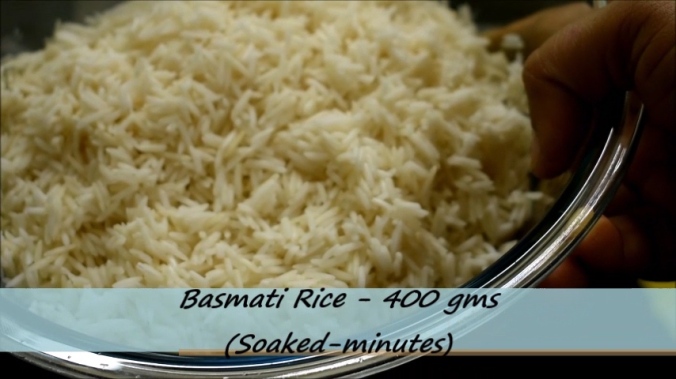 6.Add 2 tsp of ghee and cook the rice until rice is cooked up to 70%.
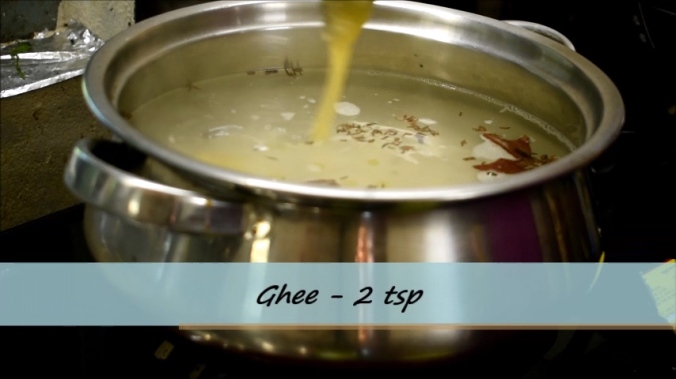
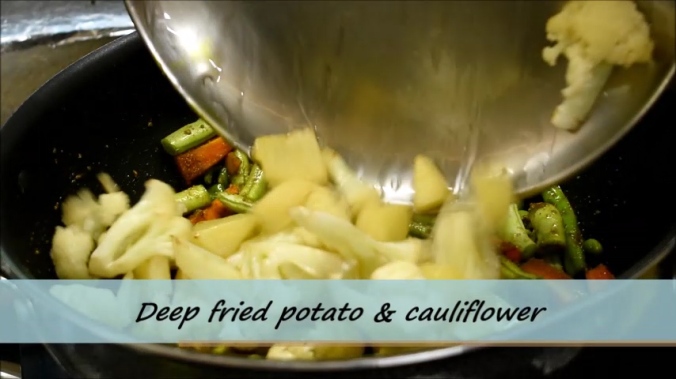
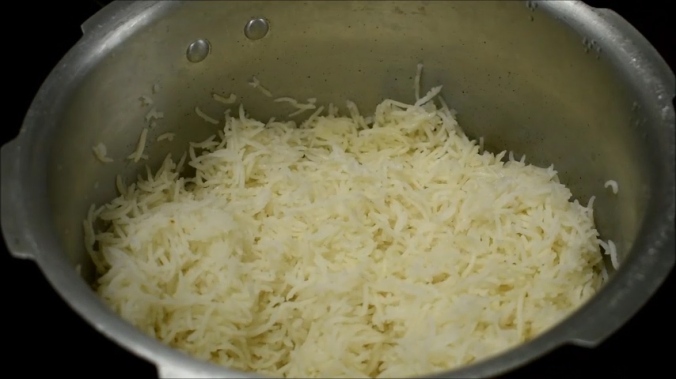
 8.Drain the water from cooked rice and keep aside the rice.Next in a kadai deep fry 1/2 cup of potato cubes and 1 cup of cauliflower florets.
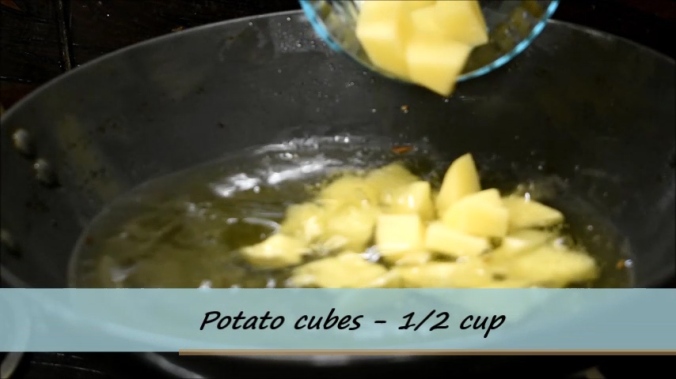
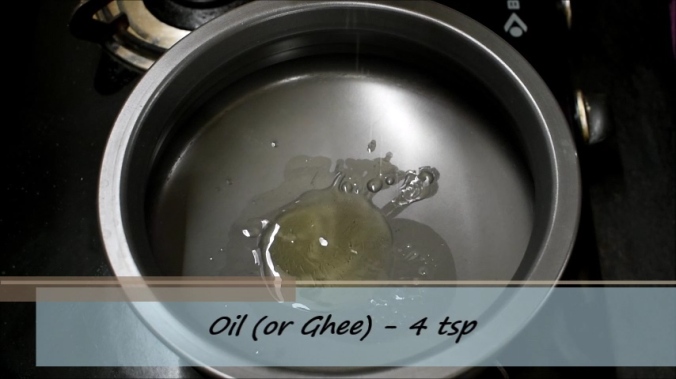
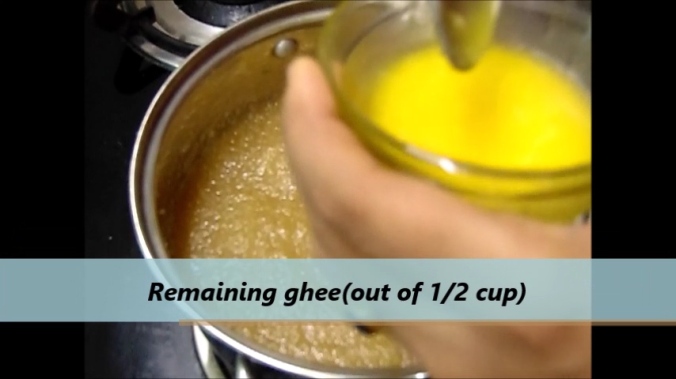
 9.Keep aside the deep fried vegetables.Take a wok and heat up 4 tsp of ghee.
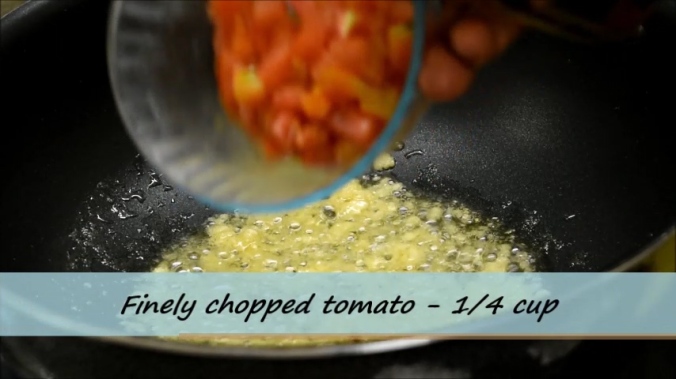
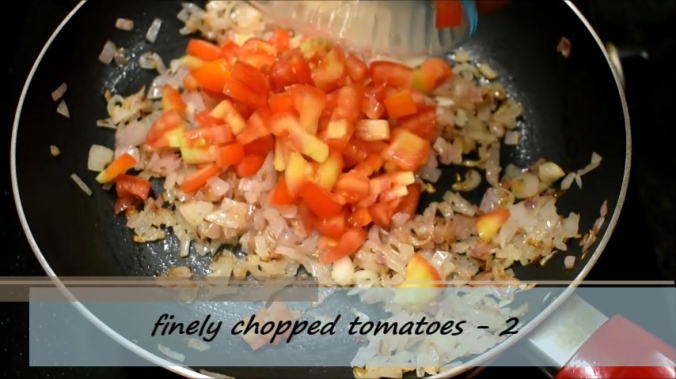
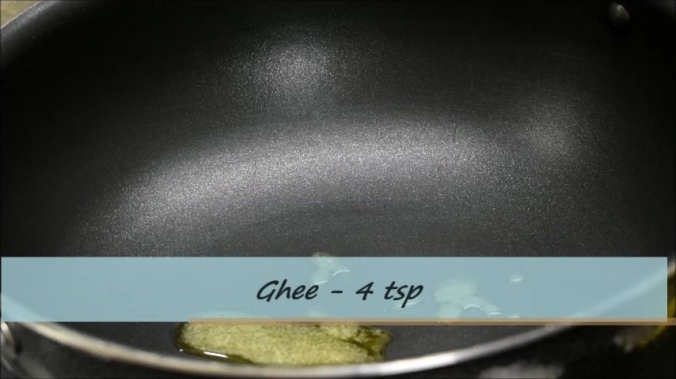 10.Add a tsp of ginger garlic paste and 1/4 cup of finely chopped tomato.Fry them well.
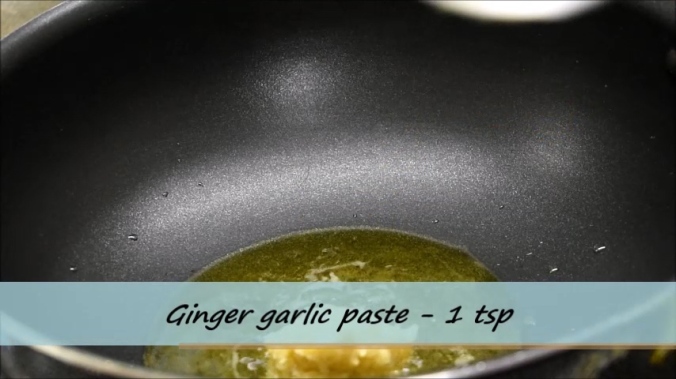
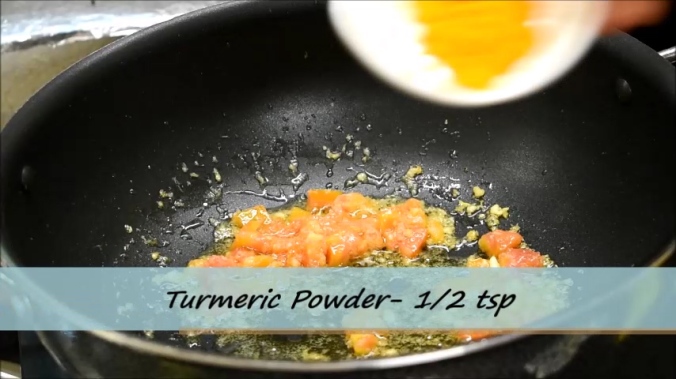
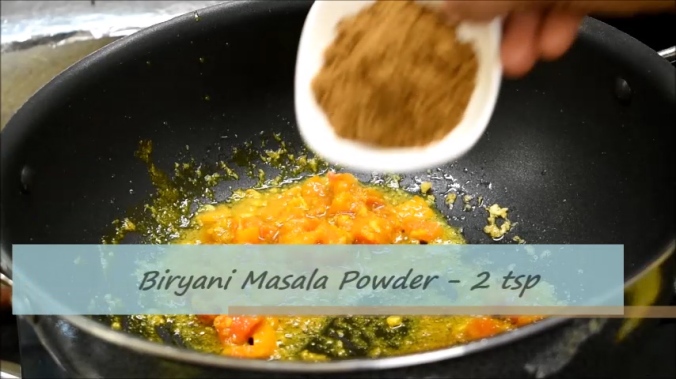
 11.Once the tomatoes are cooked well and turn mushy add salt,turmeric powder and 2 tsp of biryani masala powder.
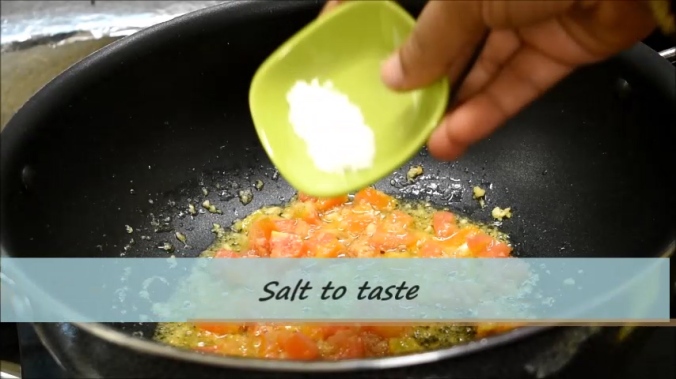
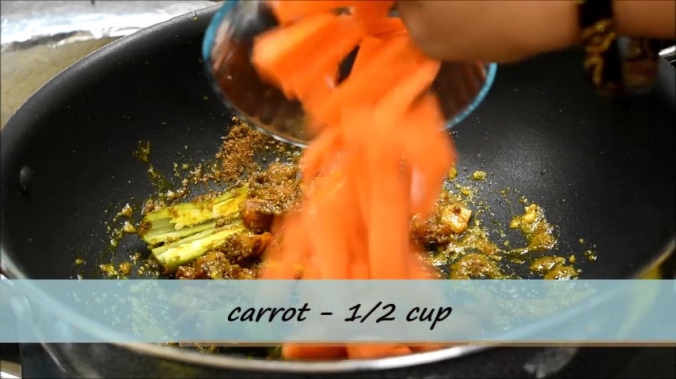
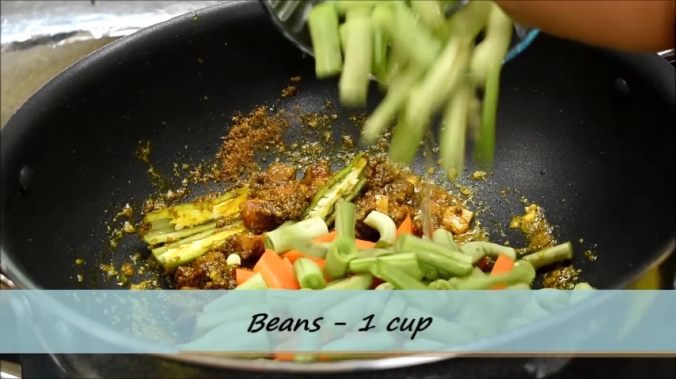
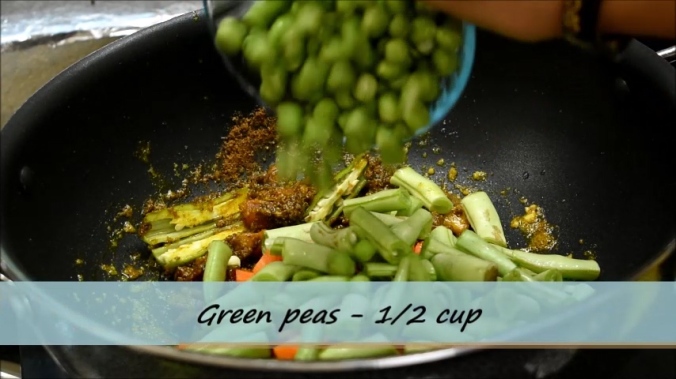
 12.Give a good mix and add green chillies and vegetables.
 13. Mix everything,add 1 tsp of ghee,deep fried potato and cauliflower.
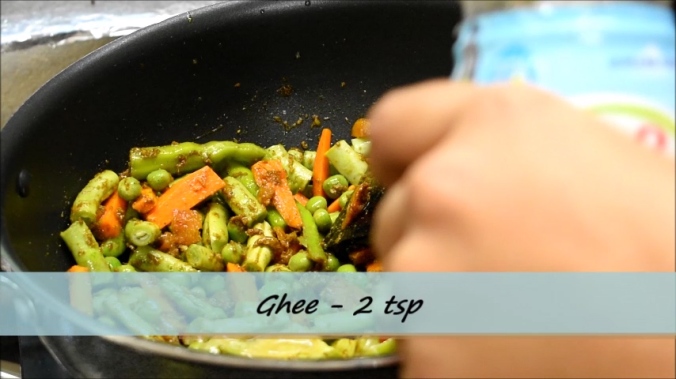
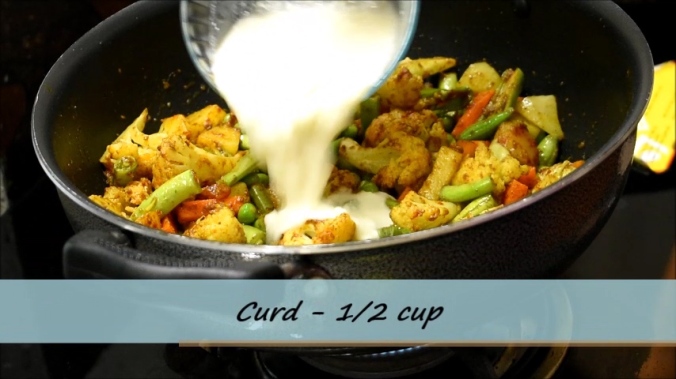
 14.Mix well and add 1/2 tsp red chilli powder and 1/2 cup of curd.
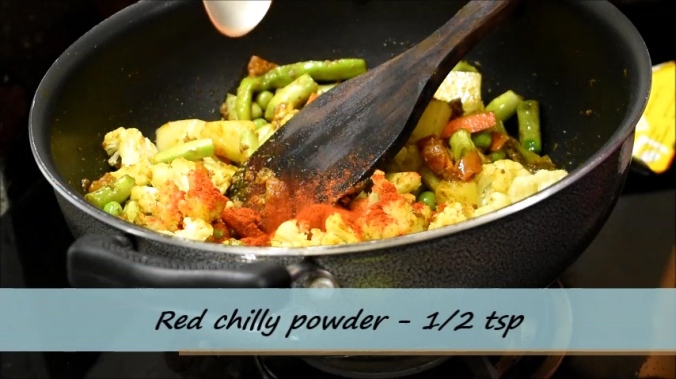
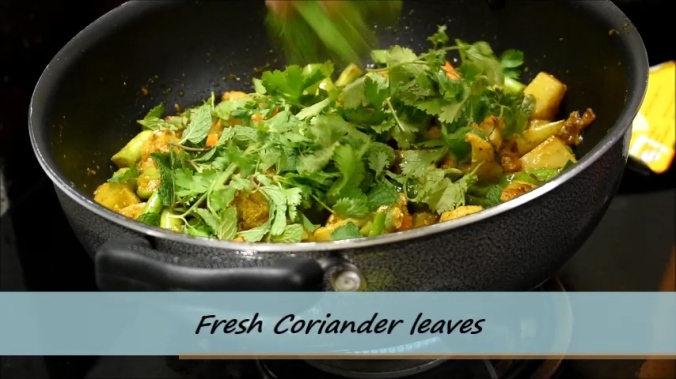
 15.Also add few fresh mint leaves,coriander leaves and salt . Mix it well.Cook it on low fame for 2 minutes and switch off the flame.
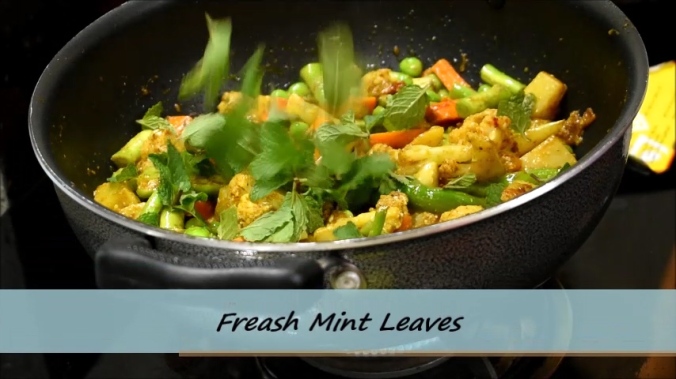
 16.Pre heat a tawa on high flame for 5 minutes.
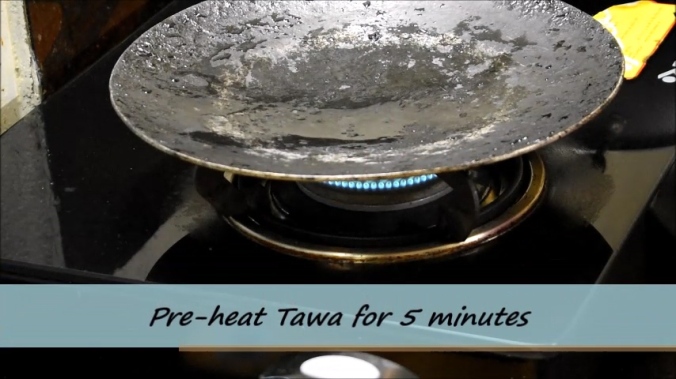 17.While the tawa is getting pre heated take a wok or a vessel in which you want to make biryani.Start layering the rice and vegetables.First spread a layer of partially cooked rice as shown in the picture below.
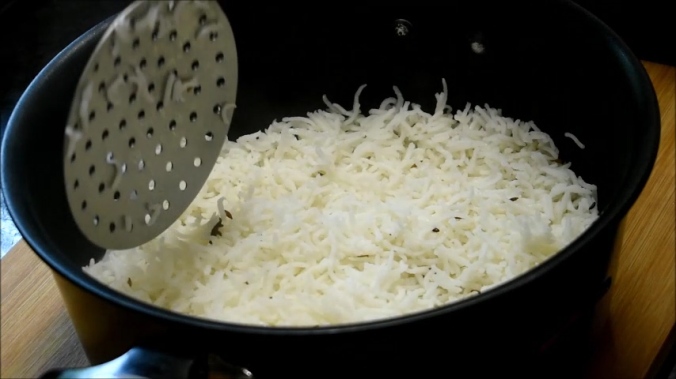 18.Next spread the layer of fried vegetables.You can spread the entire quantity of fried vegetables.
 19.As a third layer spread rice again.
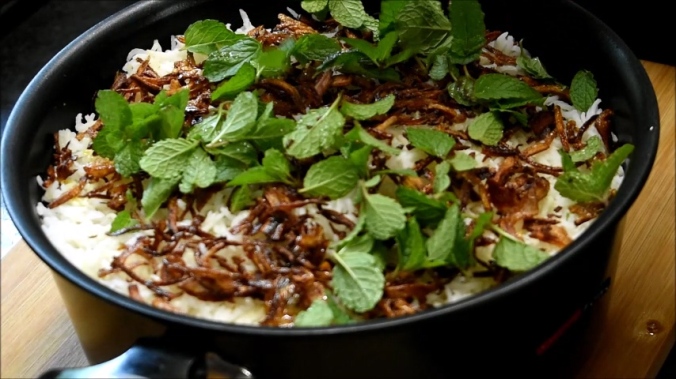
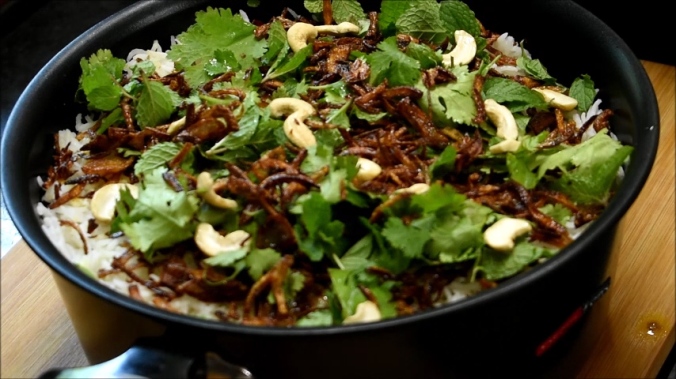
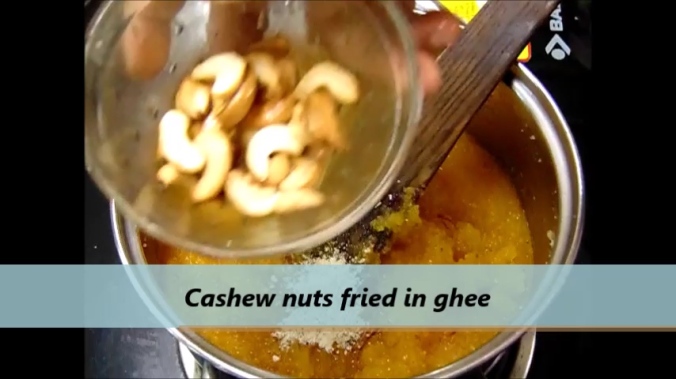
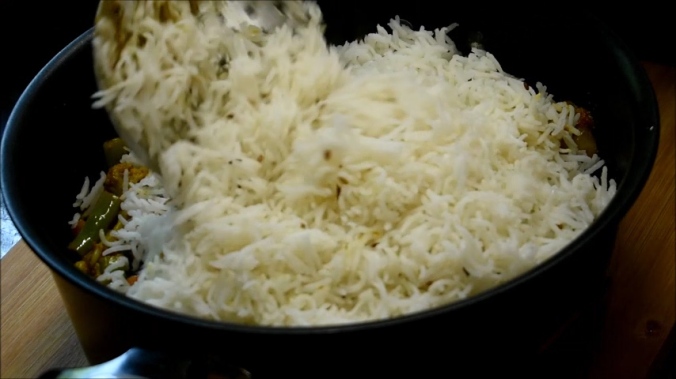 20.Next spread a layer of brown onions followed by few mint leaves,coriander leaves,diluted food color and few cashew nuts.If you want you once again spread a layer of brown onions.
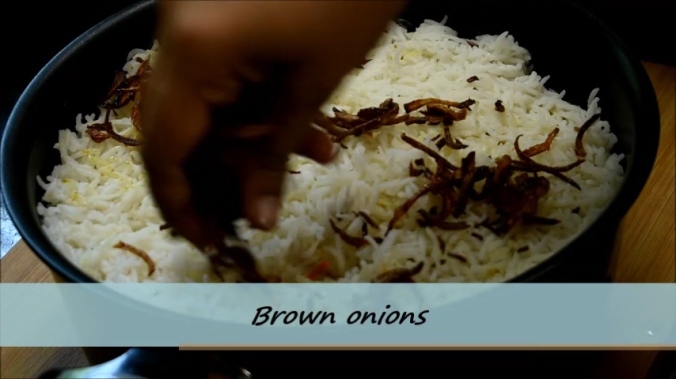
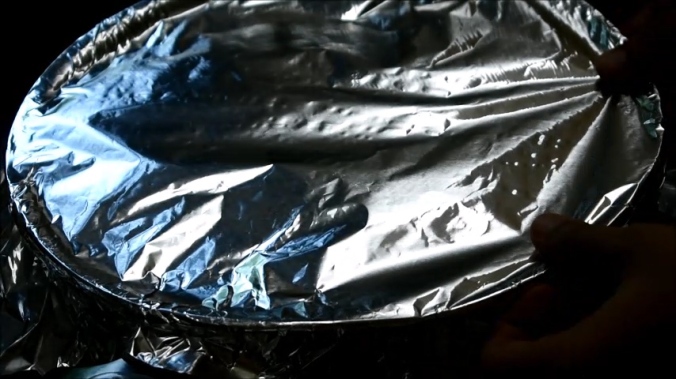
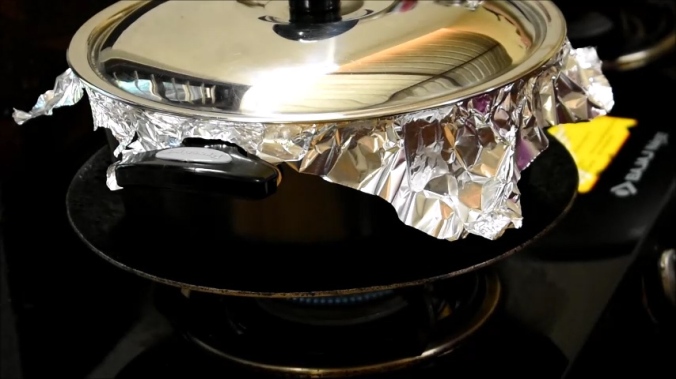
 21.Finally add a tsp of ghee and seal the vessel tightly with a foil sheet and then close it with a lid and place the vessel on pre heated tawa and cook it on lowest flame for 20 minutes.
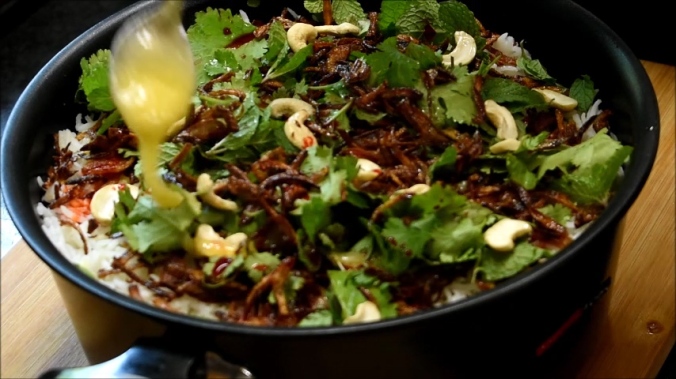
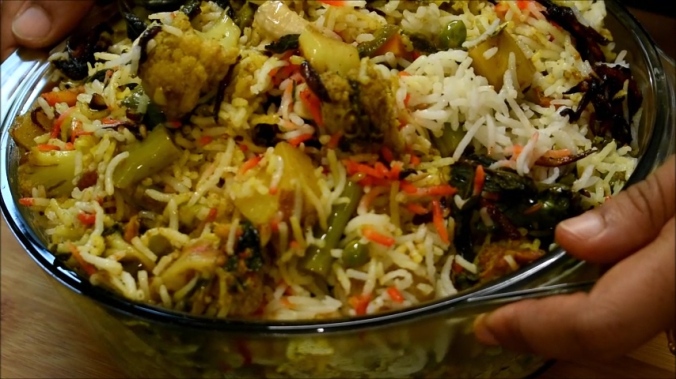
 22.And our vegetable biryani will be ready to serve 🙂
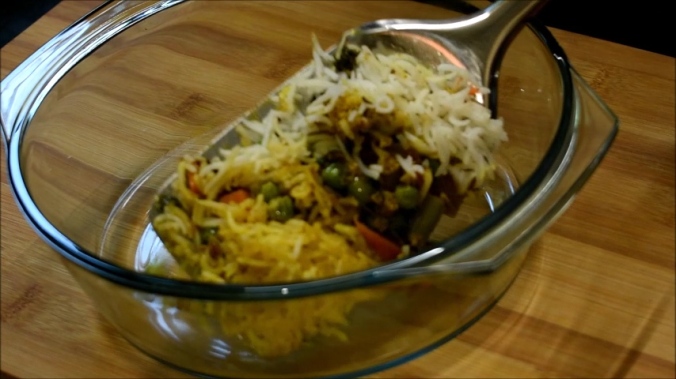
 In one of my earlier posts I have given the recipe for
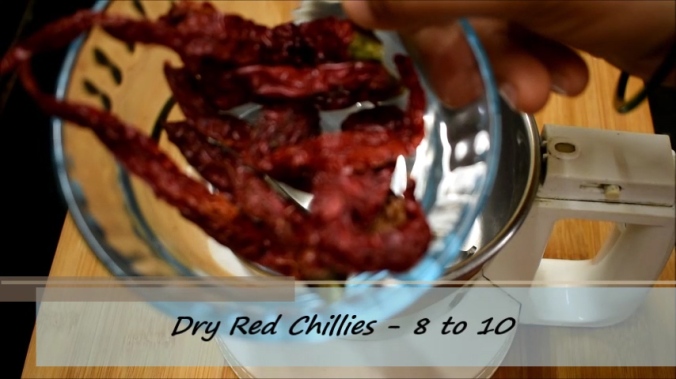
 5.Next add the marinated (with salt & turmeric powder) and de-veined prawns and fry them in low to medium flame for 10 minutes.Keep stirring in between.
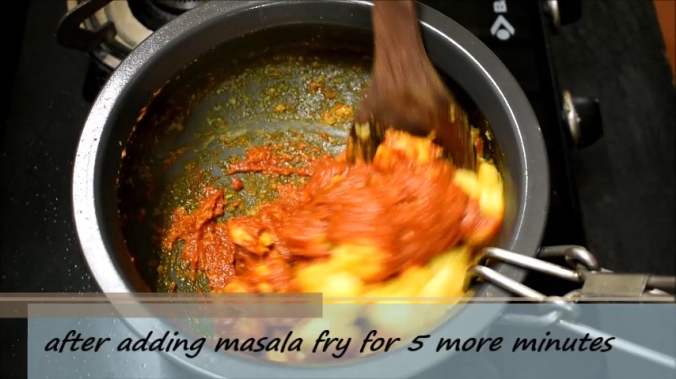
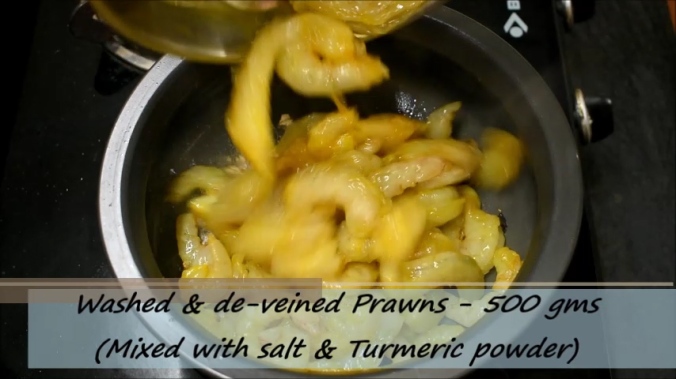 6.After frying prawns for 10 minutes and water contents are dried,add prepared masala paste and mix well.Fry prawns again with masala for 5 more minutes.
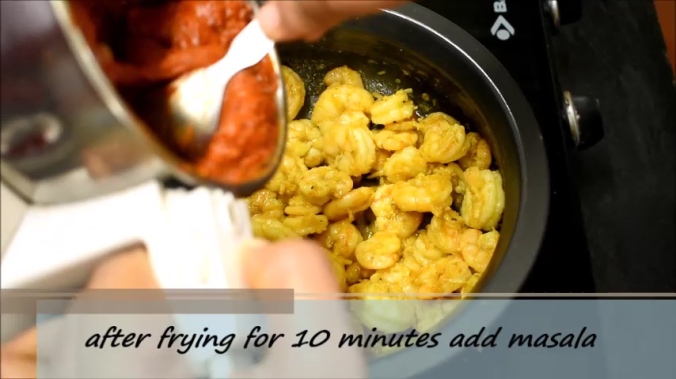
 7.Add required amount of water depending on the gravy consistency that you need.
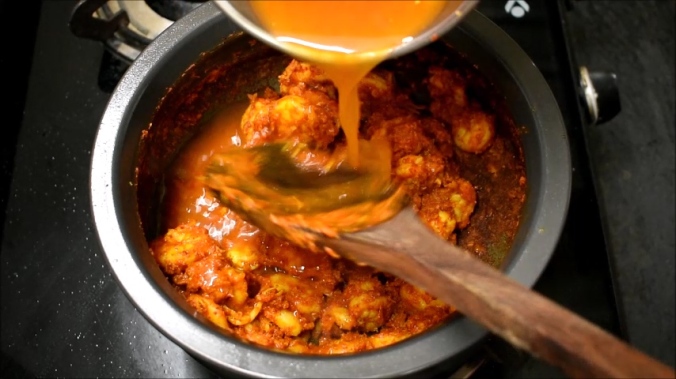 8.Add salt as per taste,mix well and boil cook it for few more minutes.
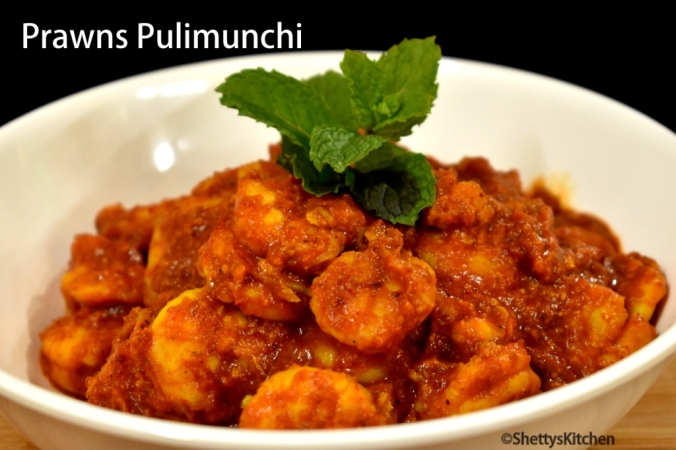
 9.And our tasty,spicy and tangy prawns pulimunchi will be ready to serve 🙂
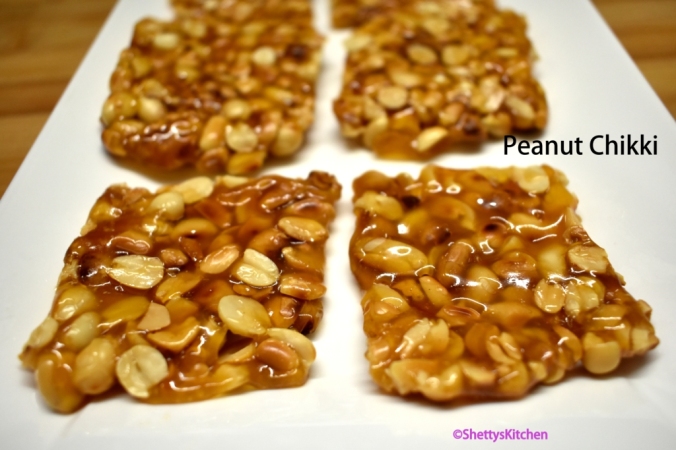 Peanut chikki or moongfali ki chikki or shenga chikki is an easy yet tricky Indian sweet.It doesn’t require much ingredients but definitely requires sense of time 🙂 .If you are a peanut lover then probably this would come on top in your list of peanut recipes.Here is a perfect,no fail peanut chikki recipe with step by step photos.
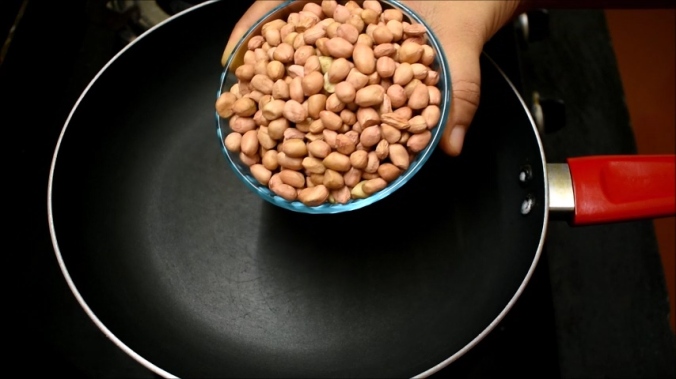
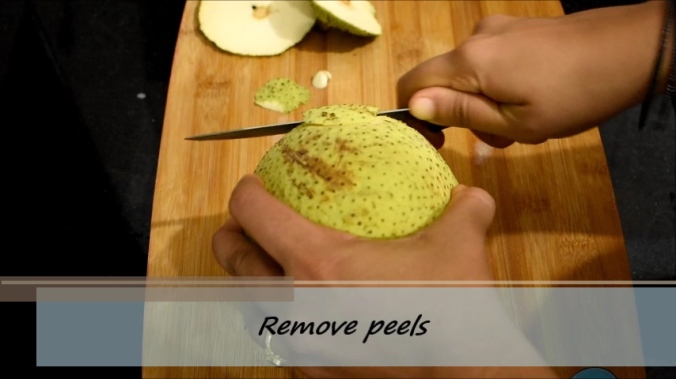
 2.Remove the peels by slightly rubbing it in your palm and after removing the peels split the peanuts into two.
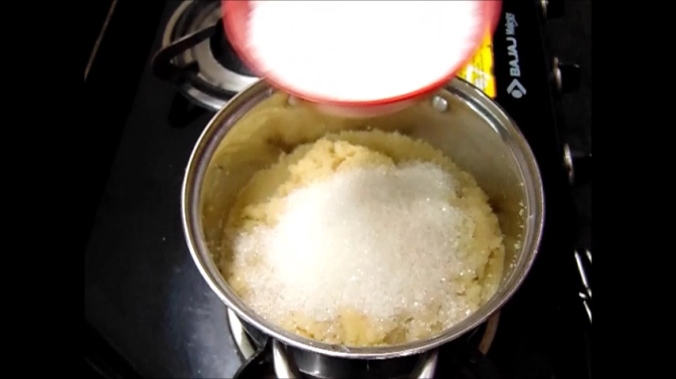
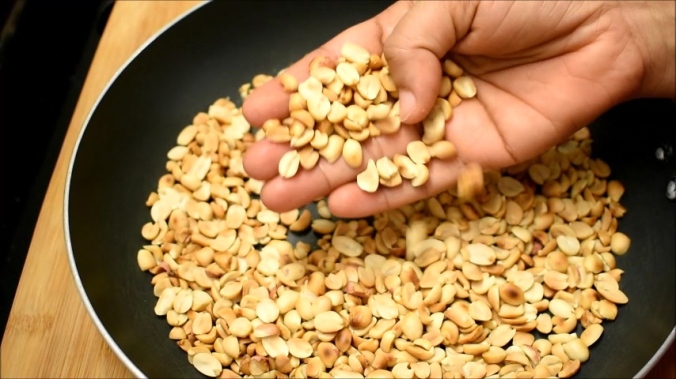 3.Keep aside the peanuts.Next for preparing jaggery syrup add 3/4th cup of jaggery to the pan and 1/4th cup of water.
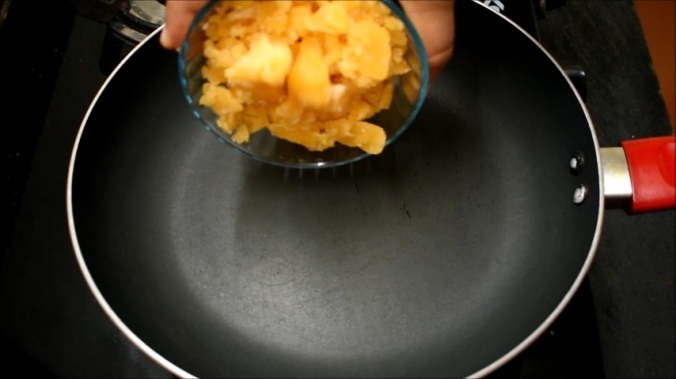
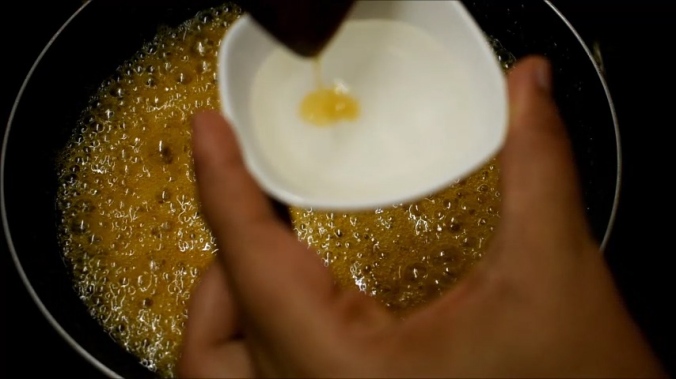
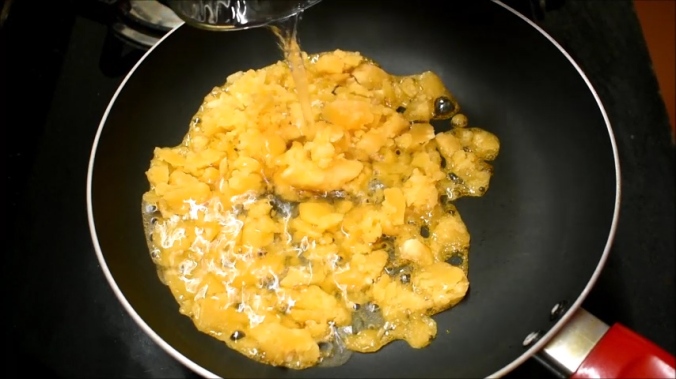 4.Keep stirring the syrup. Jaggery would melt,continue to stir until the syrup reaches a consistency such that if you drop little syrup in cold water,you will be able to bring it together and form a small ball.
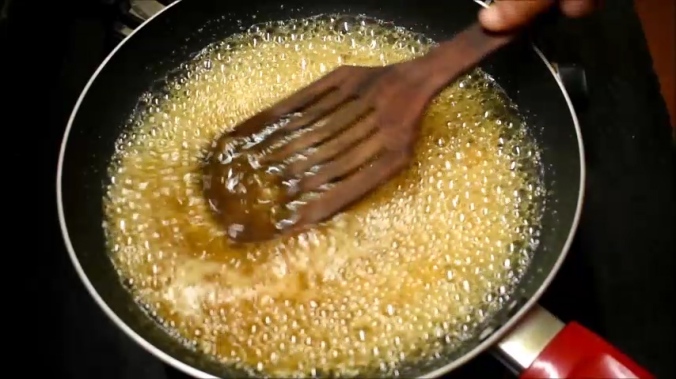
 5.Now add the roasted peanuts and mix it well.You should be quick in stirring and pouring the mixture onto a plate.Do not stir it for a long time after adding peanuts to the syrup as you may not be able to spread and shape the chikki.
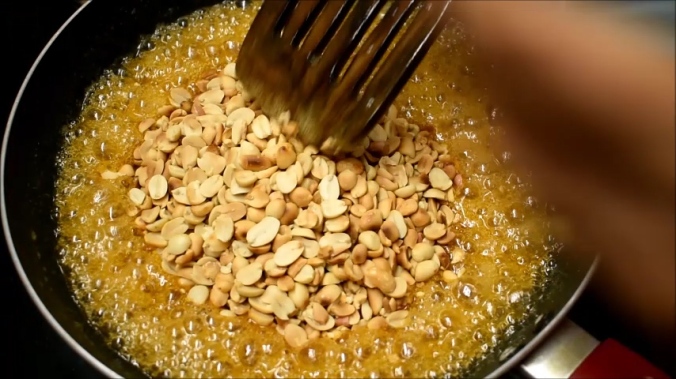
 6.Roll it and give an even surface and thickness all over.
 7.Let it cool for sometime and then make cut marks.You cannot make cut marks if it cools completely.So do not wait until it becomes hard for making cut marks.Also cut mark is done to give chikkis an even and proper shape.
 8.Once it comes to room temperature remove the chikkis from rolling board and place them on a plate.Wait for some more time and the chikkis would become hard and crisp just like the ones we get in shops 🙂
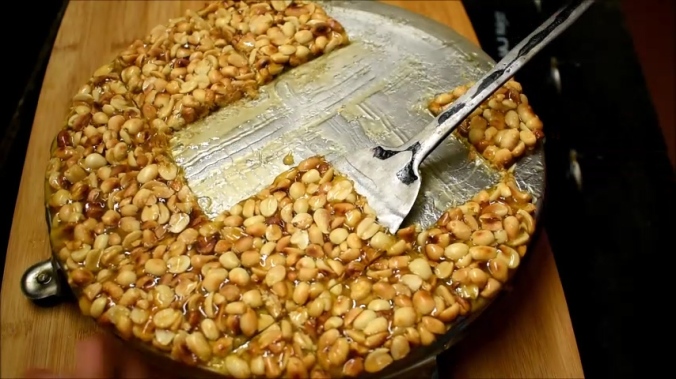
 9.And our tasty and crisp peanut chikkis will be ready to taste.
 For the complete video recipe click here :
 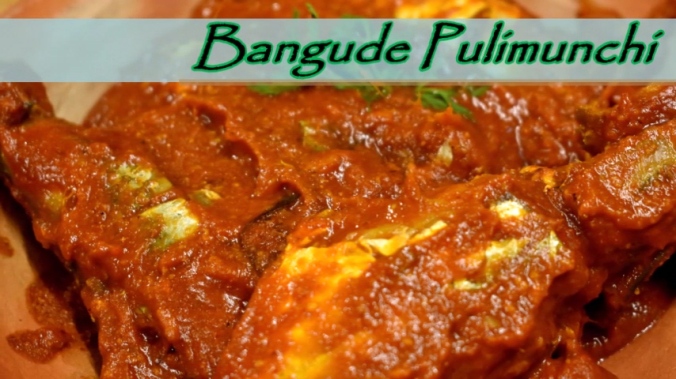 Its been 3 months since I uploaded a video recipe on How to make Bangude pulimunchi-a popular fish masala curry in Udupi Mangalore regions.I have always been thinking to start a blog but with my current schedule and also being a mother of one of the most hyperactive girl child 🙂 it was difficult to find time for blogging.But when I saw my youtube video being embedded in some other website (
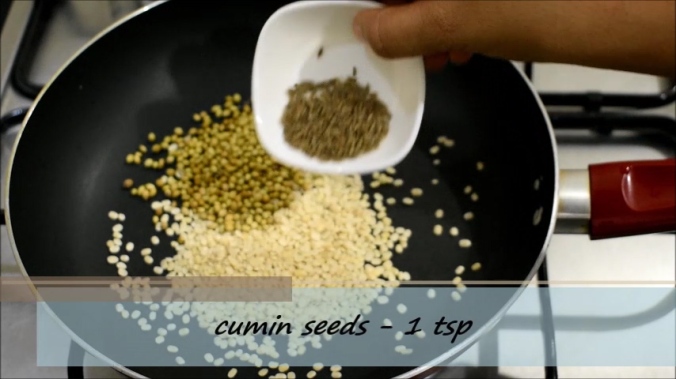
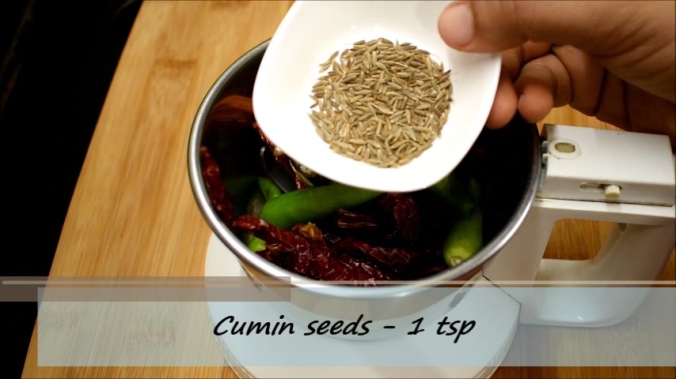
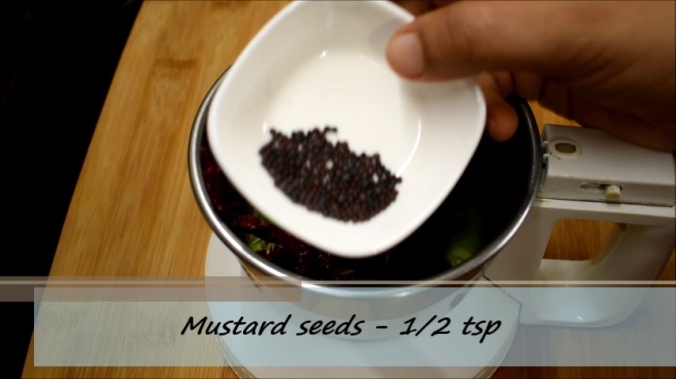
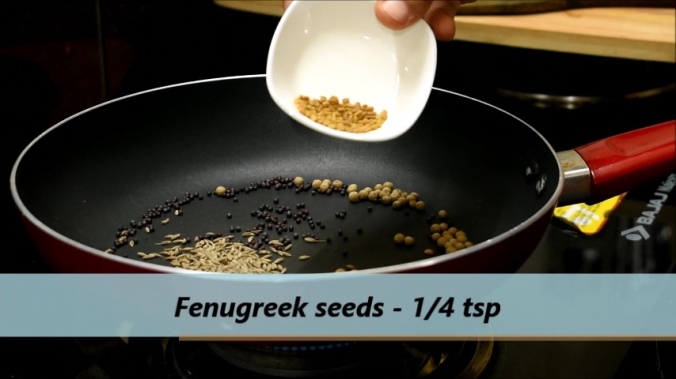
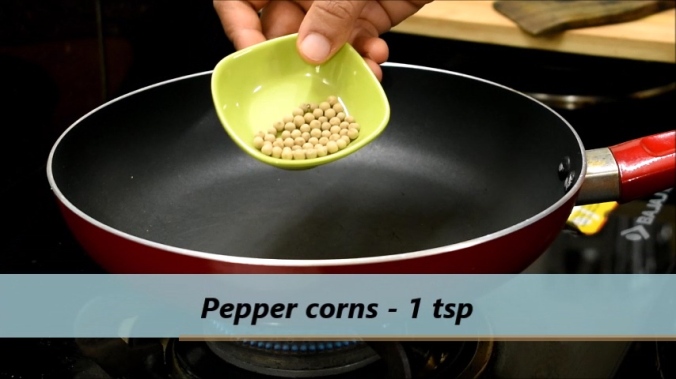 Next add 1 tsp cumin seeds,1/2 tsp mustard seeds and 1/4 tsp of fenugreek seeds .Fry them all in low flame without adding oil.Keep aside the fried spices to cool.
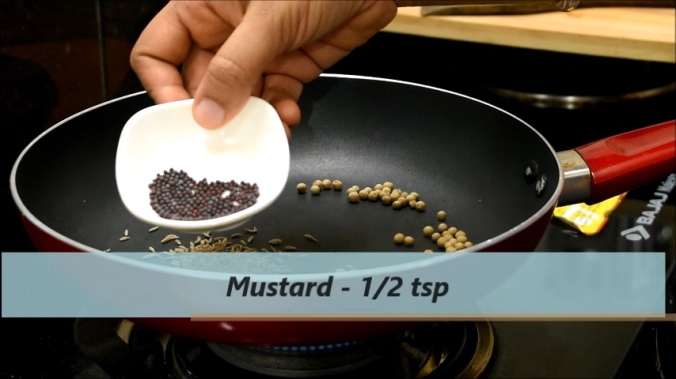
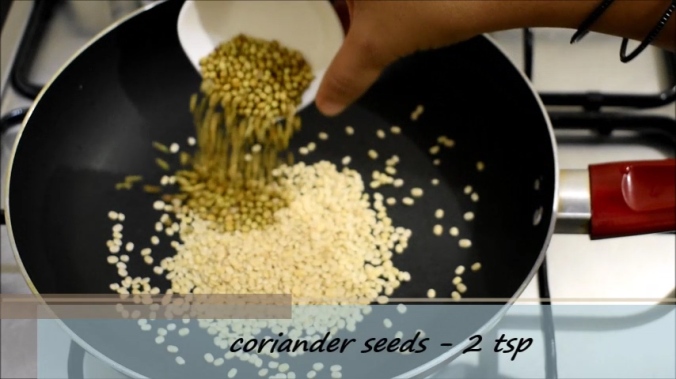
 Next in the same pan dry roast 2 tbsp of coriander seeds.
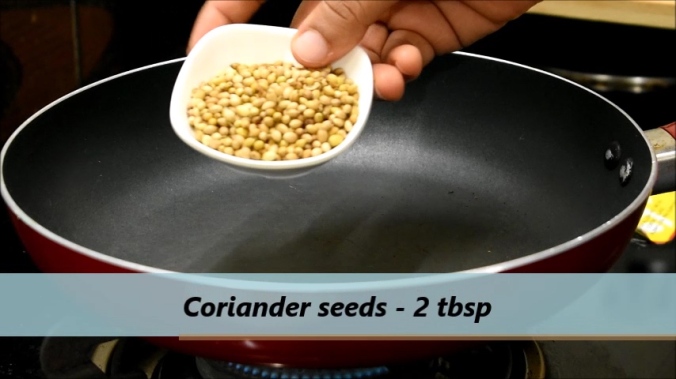 Once all the fried spices have cooled add them to a mixie jar.
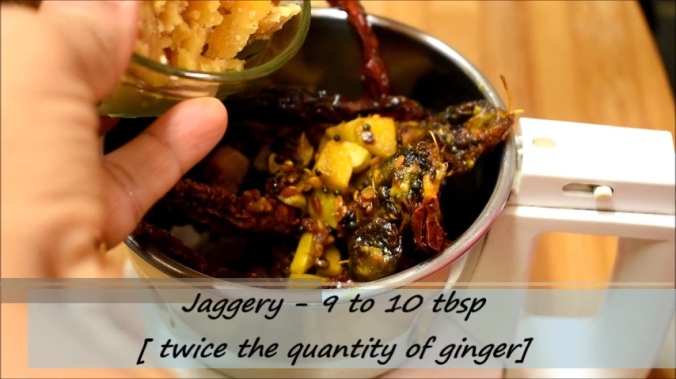
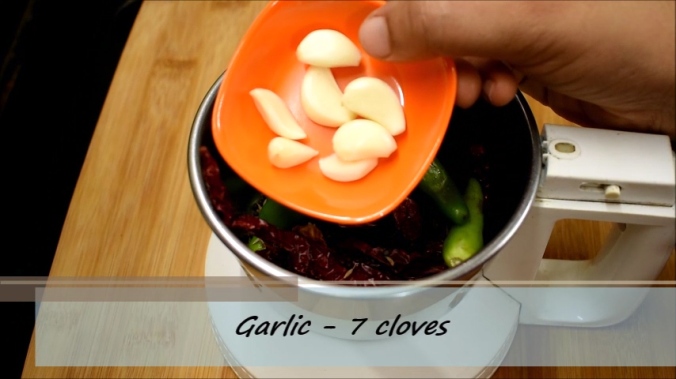
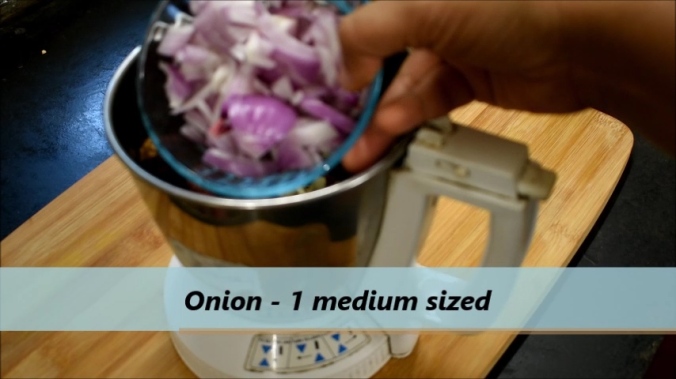
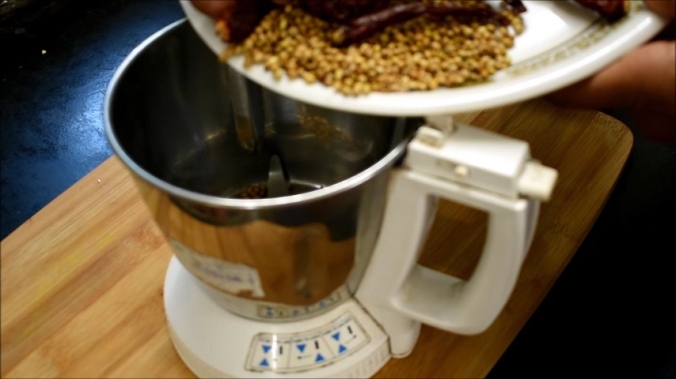 Also add 10 cloves of garlic,an inch size of ginger and 1 medium sized onion(chopped).
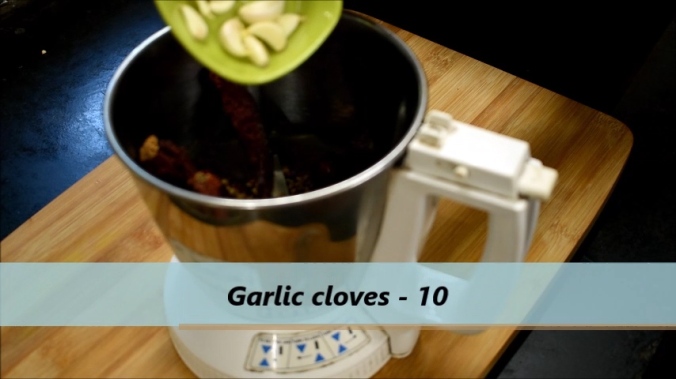

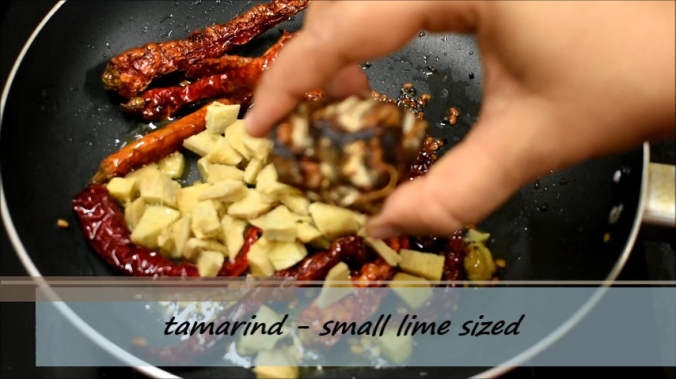
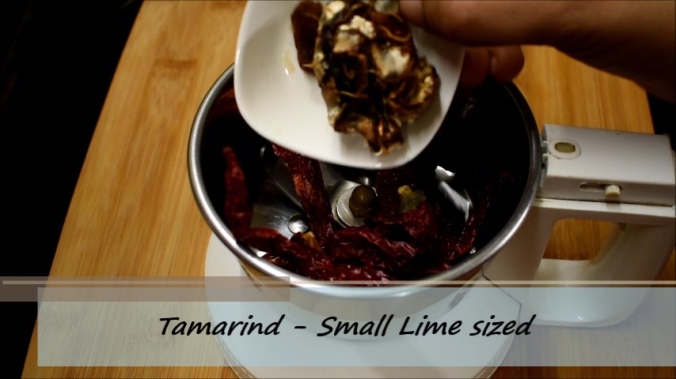
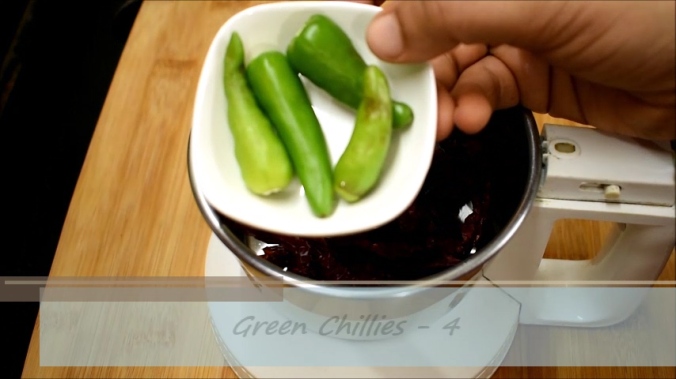
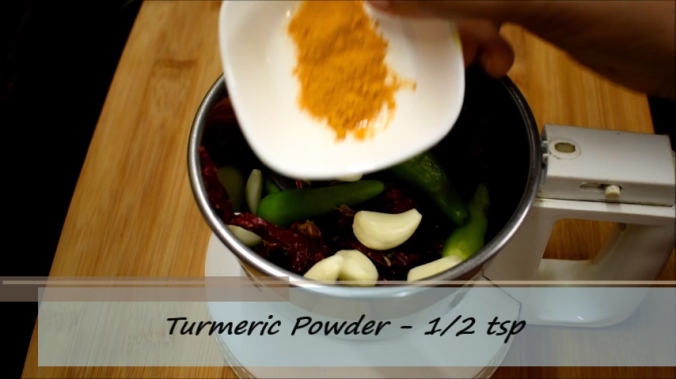
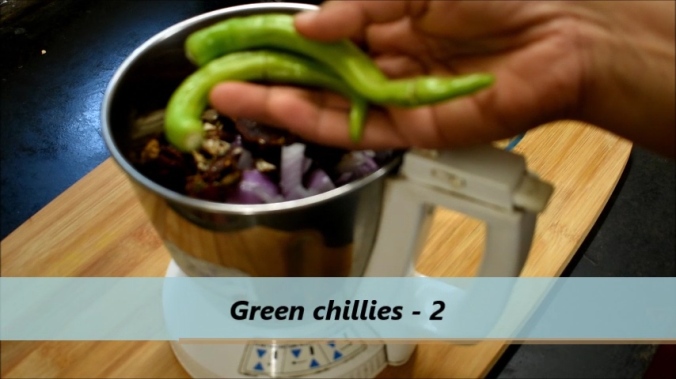
 Also add 2 lime sized lumps of tamarind,2 green chillies and 1/4 tsp of turmeric powder.
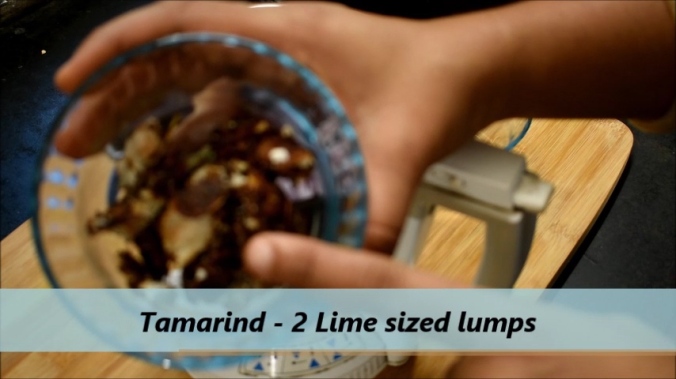
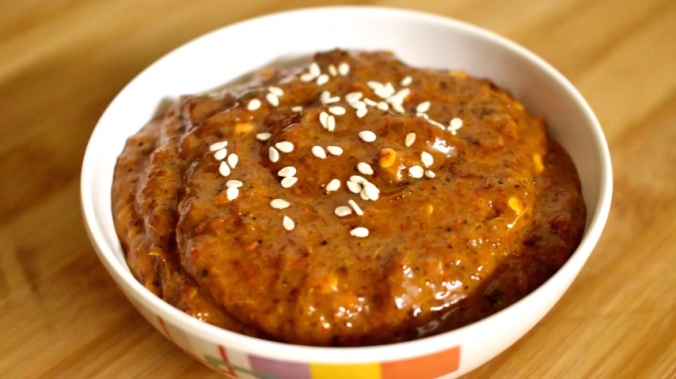
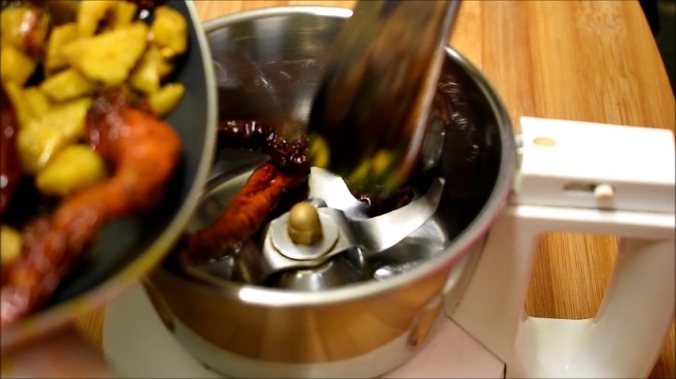
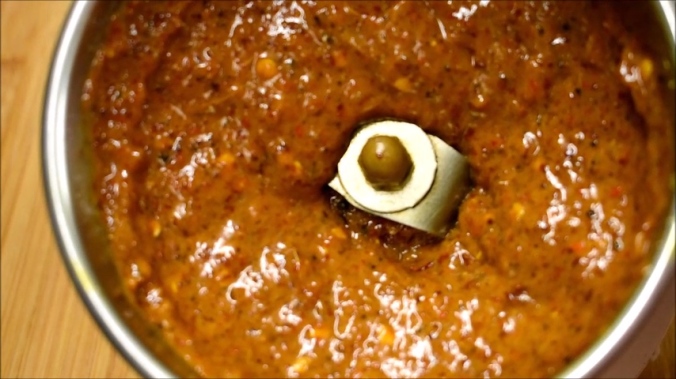
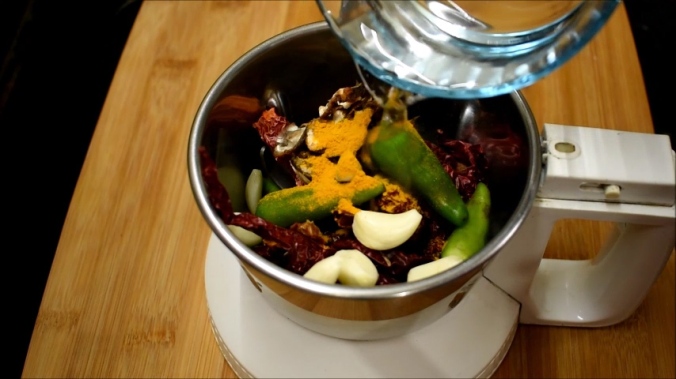
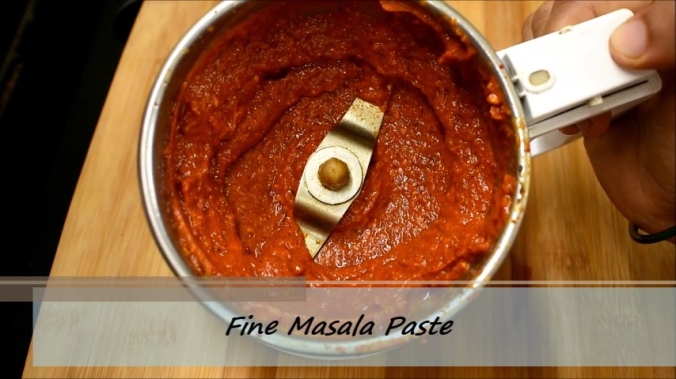
 Grind everything into a very fine masala paste by adding very little water.
 Take an earthen or clay pot for making pulimuchi.Pulimunchi tastes better when it is made in clay pot and is allowed to remain in clay pot for atleast 12 hours after cooking and served the next day.If you don’t find a clay pot,you can also use any nonstick pan or a wok.
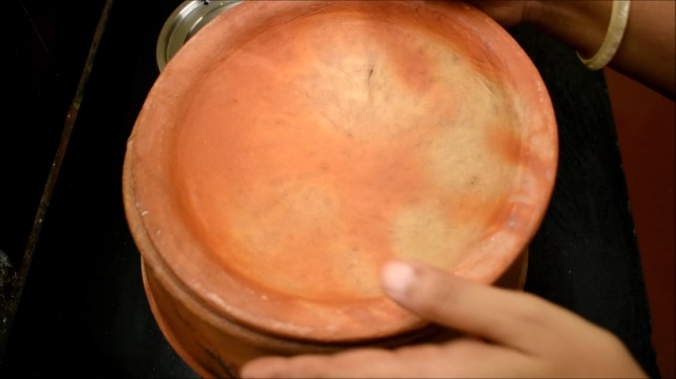
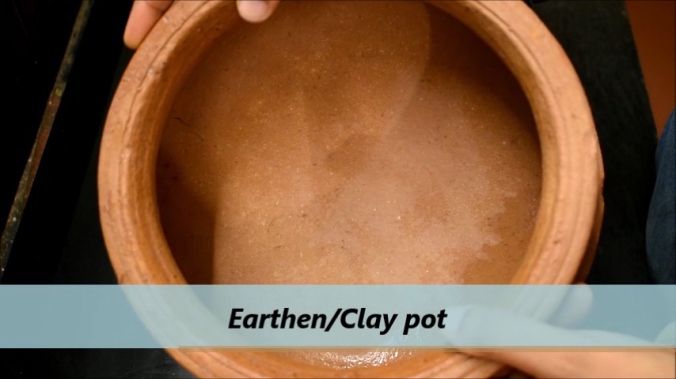 Heat up 3 to 4 tbsp of coconut oil in clay pot.
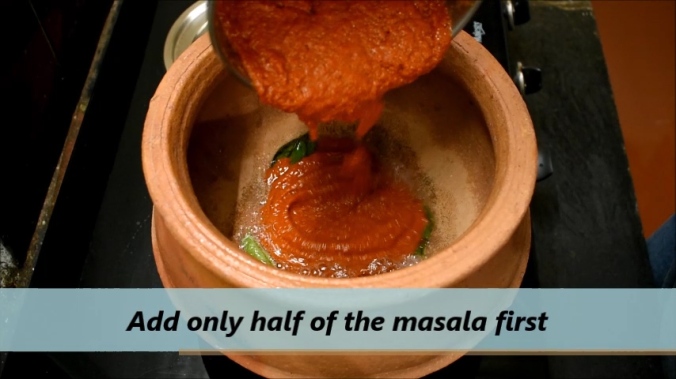
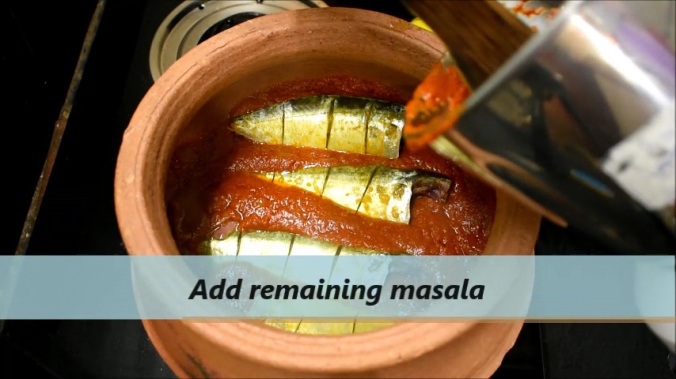
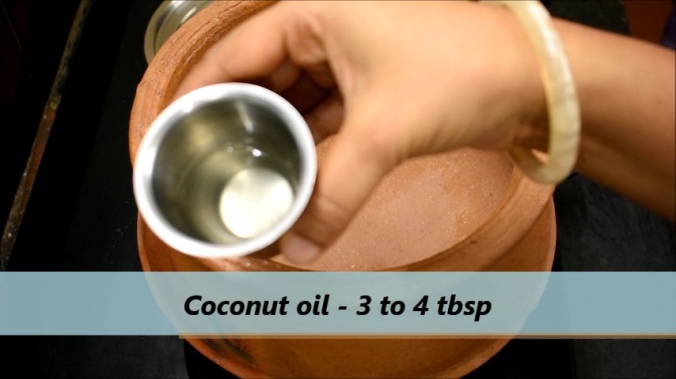 Next add curry leaves and half the quantity of masala.
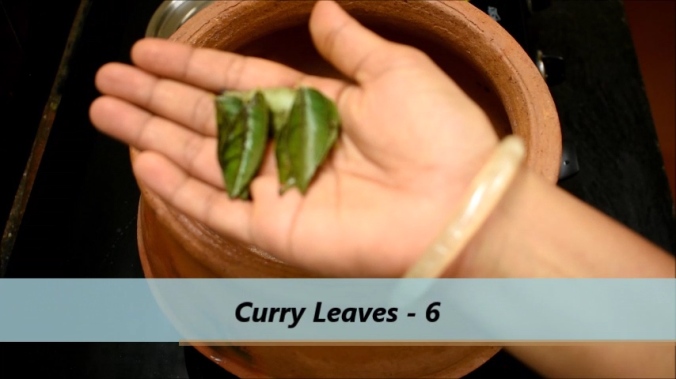
 Add salt to taste.Do not too much of salt as the fish is already marinated with salt and turmeric powder.
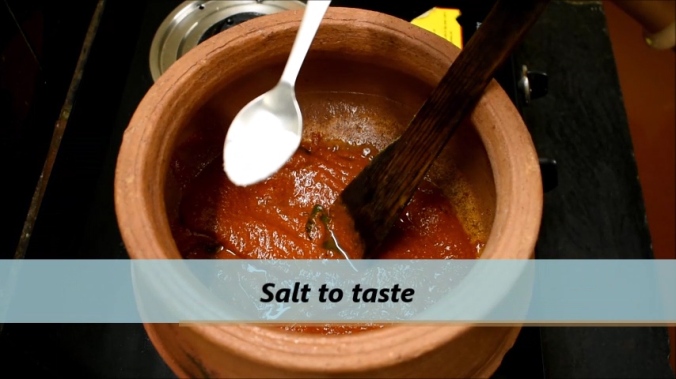 Next add the marinated fish and spread it upon the layer of masala.Spread remaining masala on top of the fish.
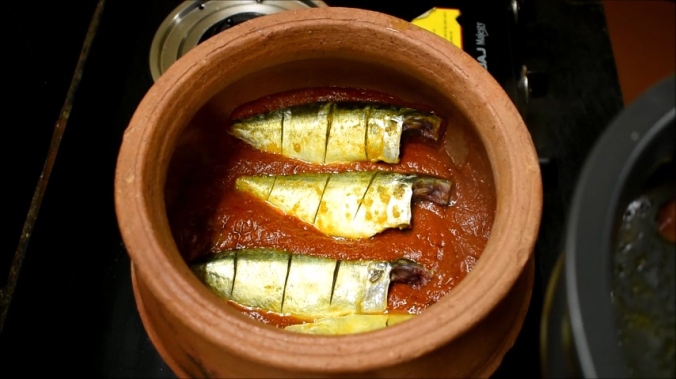
 Add the masala water too.
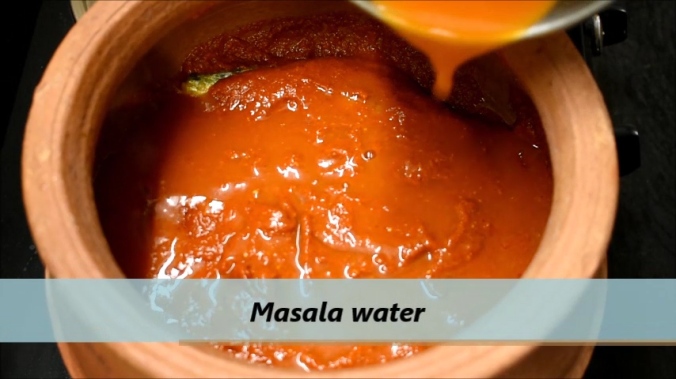
 Cook it in medium flame for 4 to 5 minutes and then flip the fish and cook for 2 to 3 minutes more on other side too.
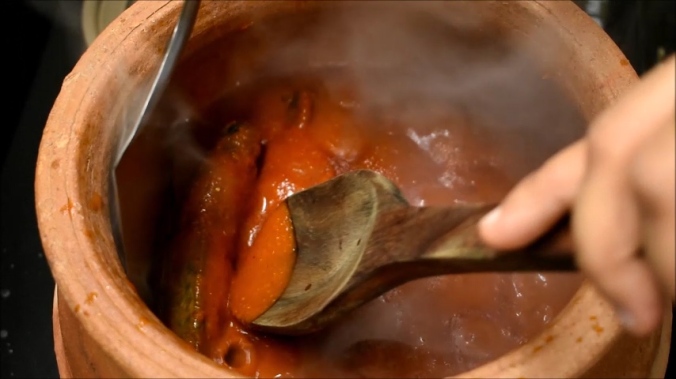 And our Bangude Pulimunchi or Spicy and Tangy Mackerel Masala Curry is ready to serve.It tastes better when served the next by letting it remain in clay pot for at least 12 hours.
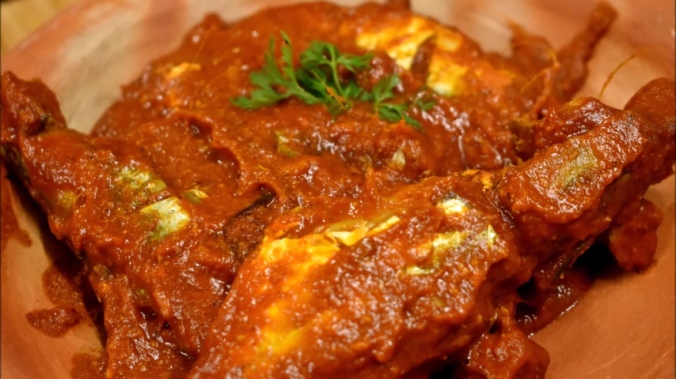


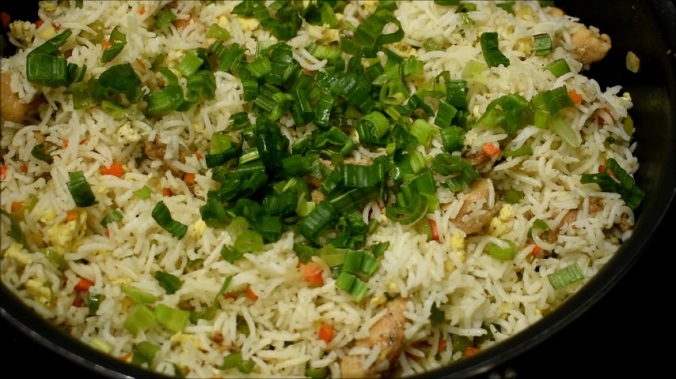
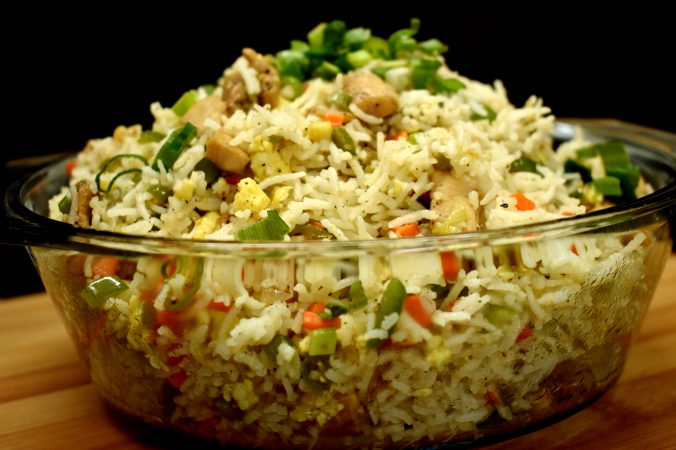 Chicken fried rice is a favorite rice item for all the non vegetarians in India.Here is a perfect and complete recipe for chicken fried rice that you can make at home.For complete video recipe click here : https://goo.gl/4YfrgB
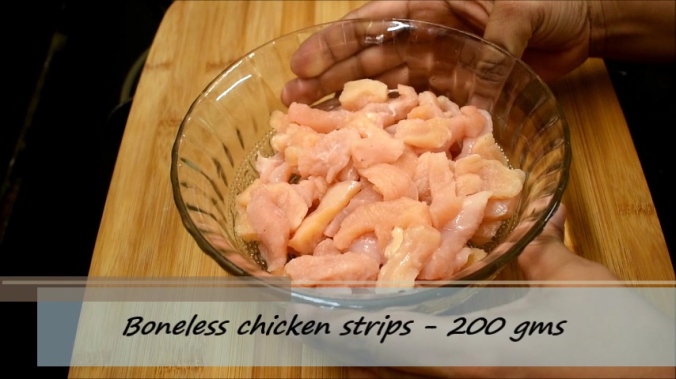
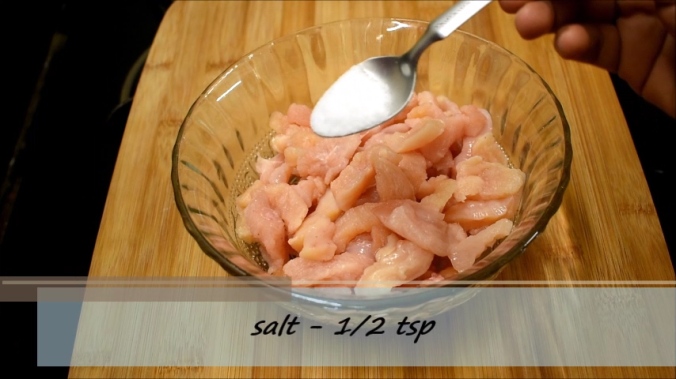
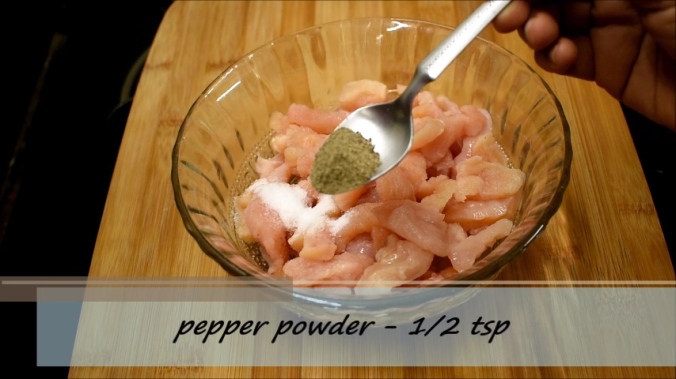
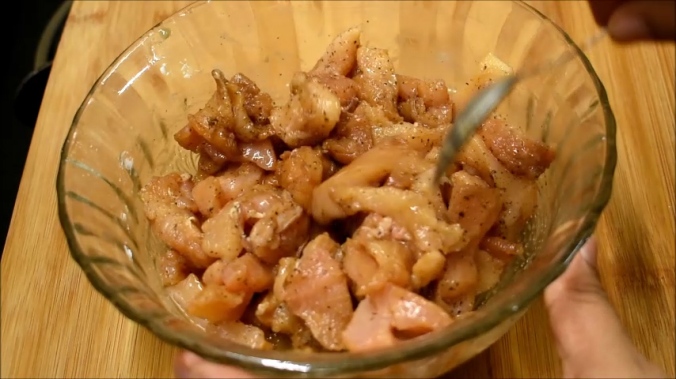

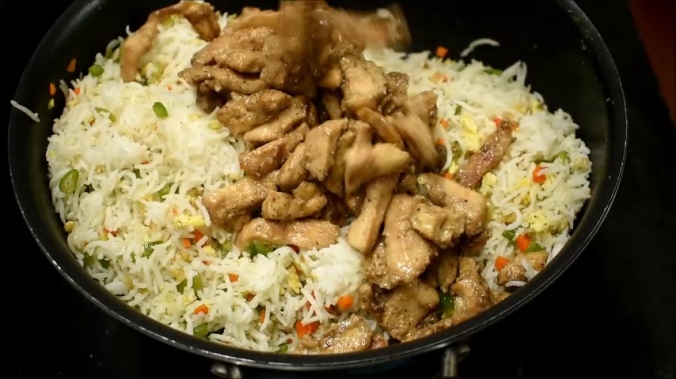
 In a wok heat up oil and fry marinated chicken strips for 4 to 5 minutes.Keep aside the fried chicken pieces.
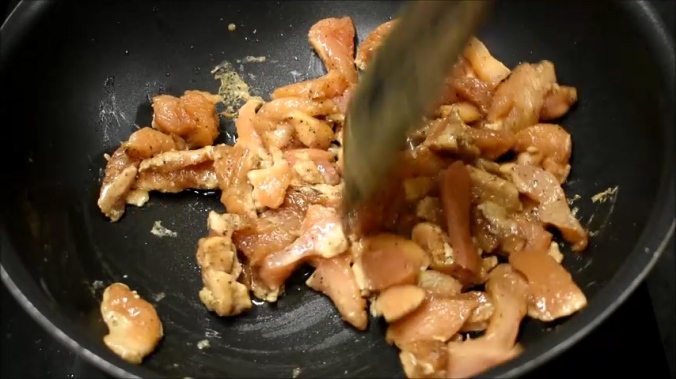


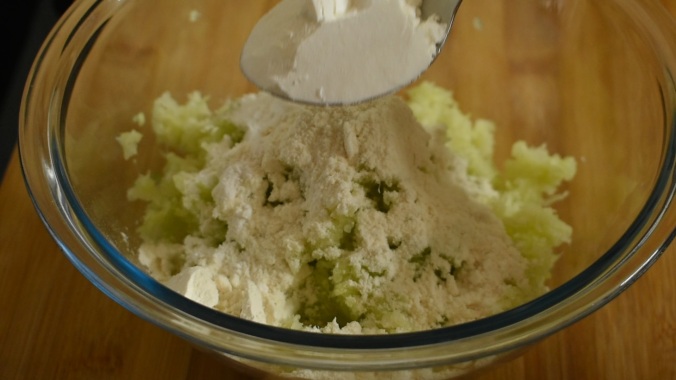 6.Add 1/2 tsp of red chilli powder
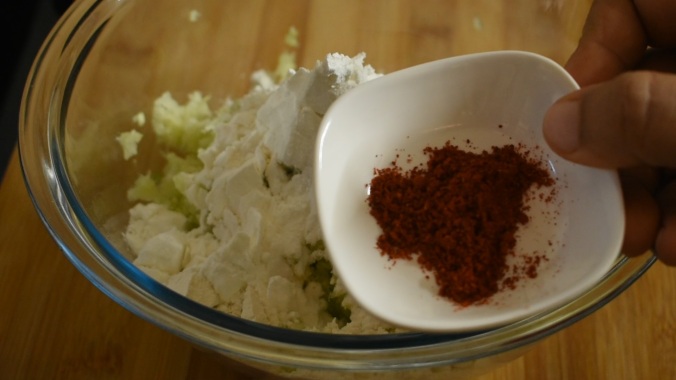 7.Add 1 tsp of ginger garlic paste.
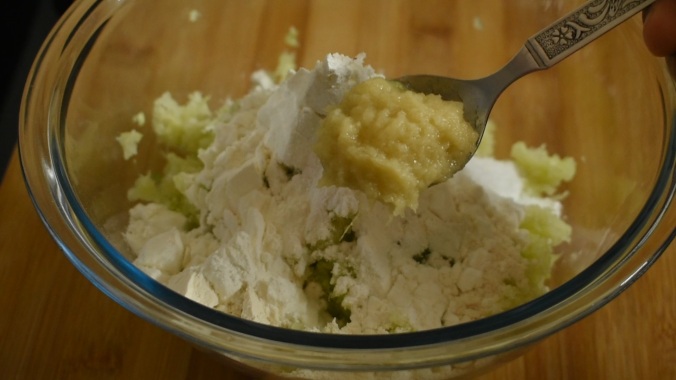 8.Mix everything together .Do not add water while mixing and mix it lightly without further mashing the grating cabbage.
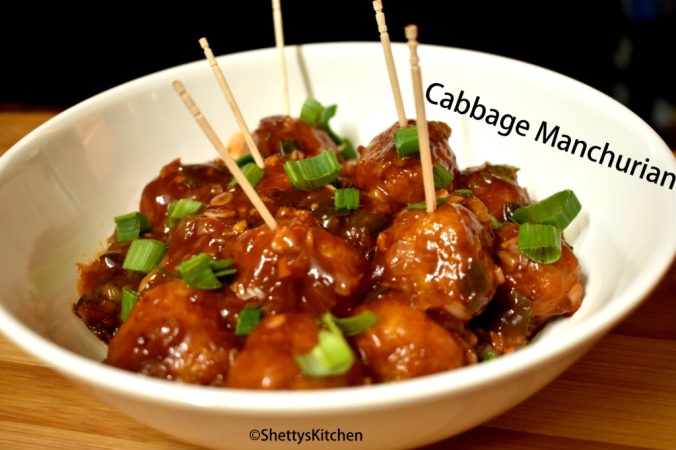
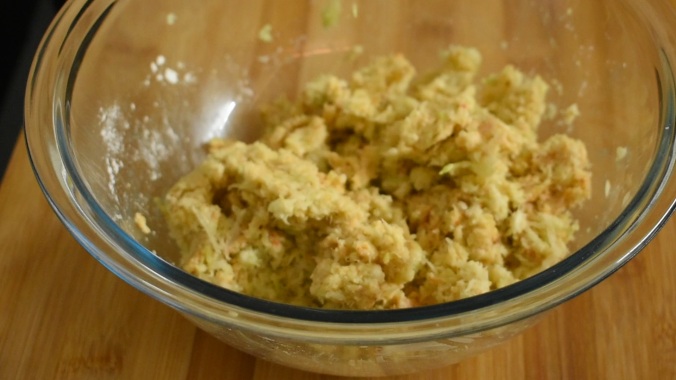 9.And now take small portions of this mixture and make manchurian balls.


